Gracious Chef Réne Bérard
In hot pursuit of cold rosé wines, my husband, John, and myself found ourselves in the fairytale region of southern Provence near the Bandol area. It is breathtakingly beautiful much, like the lower Rhône Valley with medieval hilltop villages and rugged rolling landscapes, with the blissful addition of the glistening Mediterranean in your sight.
We stayed in the hilltop village of La Cadiere-d'Azur, where some of the village's defense walls date back to the 13th Century still stand. By recommendation we stayed at the Hotel Bérard, a quaint family-owned and managed hotel that also boasts a Michelin-starred restaurant. In fact, father, René Bérard, and his son, Jean-François are the chefs.
In my research I noticed on their website, Bérard Hostellerie, there was a property in a garden setting, La Bastide des Saveurs, in which they offered cooking classes, sommelier food and wine pairings, and special events. I innocently asked if we could see the garden at La Bastide des Saveurs--thinking it was a grand vegetable garden. The tour was arranged and the next morning Chef Rene Berard personally met and escorted us the three kilometers to his property.
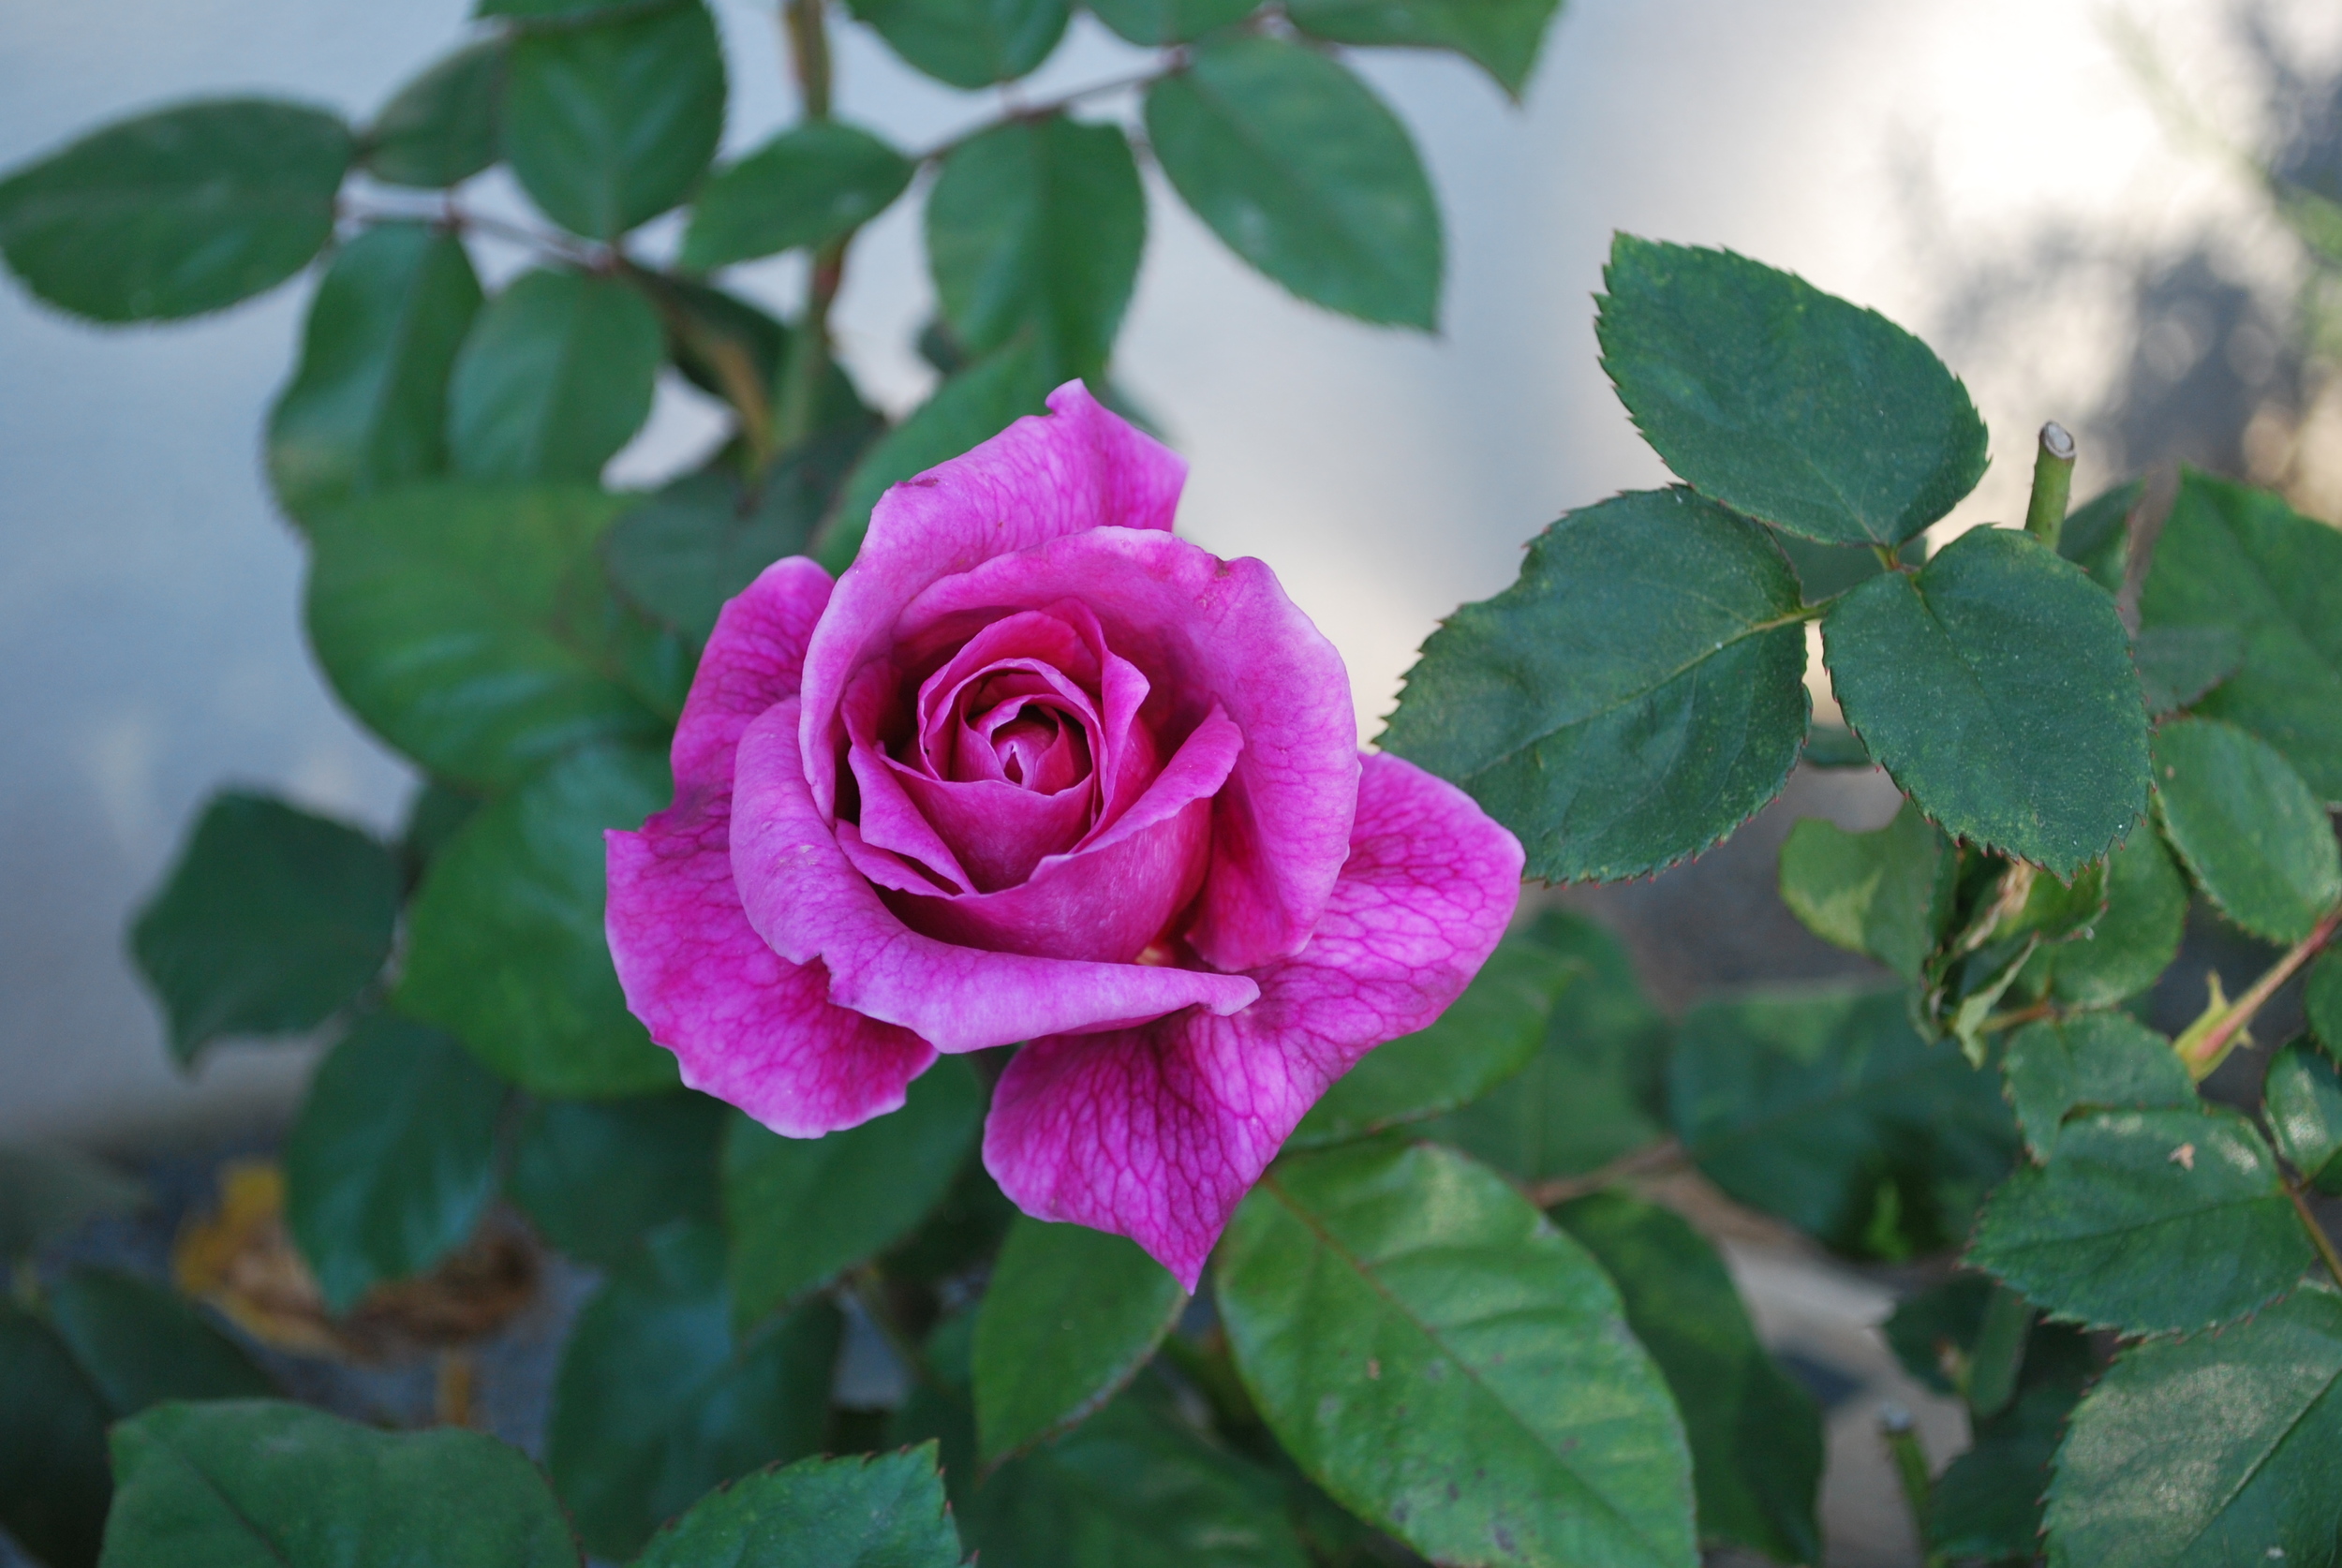
Yes, La Bastide des Saveurs was a grand vegetable garden or potager and so much more to my surprise and delight! It proved to be one of the most beautiful gardens I have ever seen, mixing herbs, flowers, and vegetables together. Typical of a potager is a focal point, pathways, and divided parts of garden planted in herbs, vegetables, and flowers. Arches of happy blooming roses billowed along the pathways. I saw one of my favorite climbing roses over and over in full glory, the lovely Pierre de Ronsard, or better known in the United States, as the climbing Eden rose.
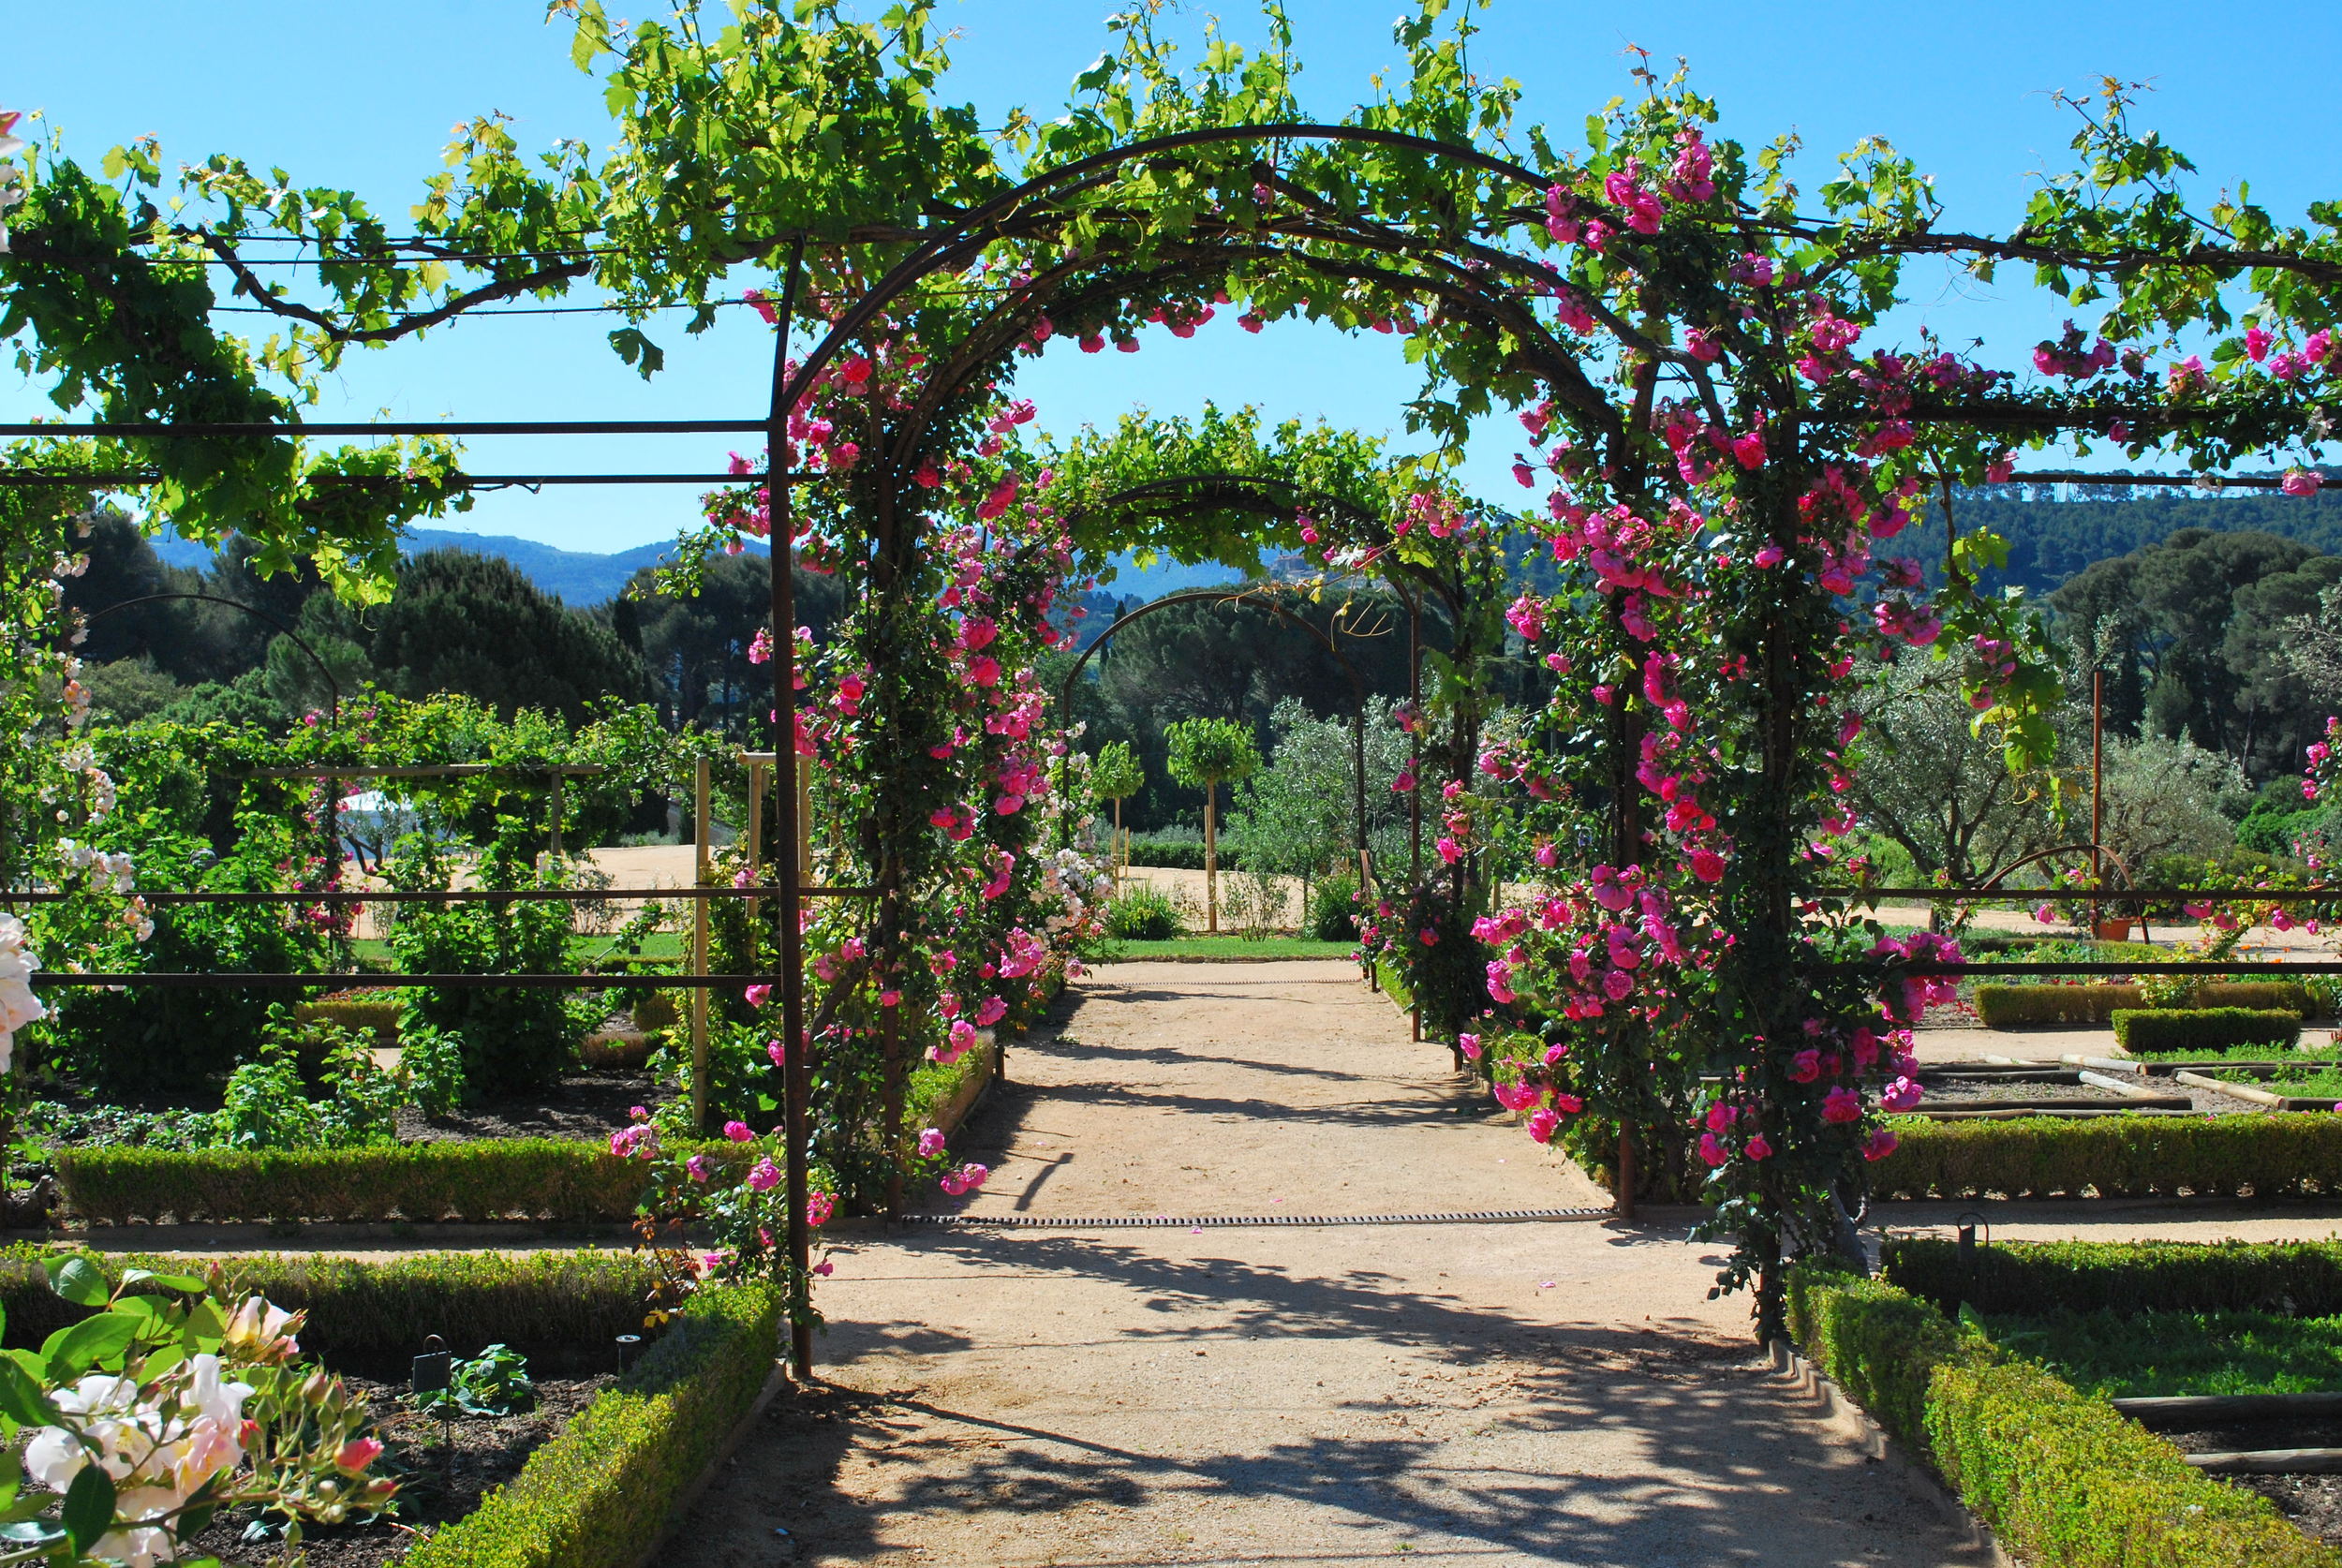
Arches of Roses in His Potager
Chef Berard was so gracious to detail and explain how he used these herbs and vegetables in his cooking. Chef Berard speaks a bit of english, and I speak a bit of french, but we were definitely speaking the common language of "cooking from the garden." On this beautiful morning, the light and landscape added dramatic drama to this incredible garden. I thought to myself, this must be one step away from heaven.

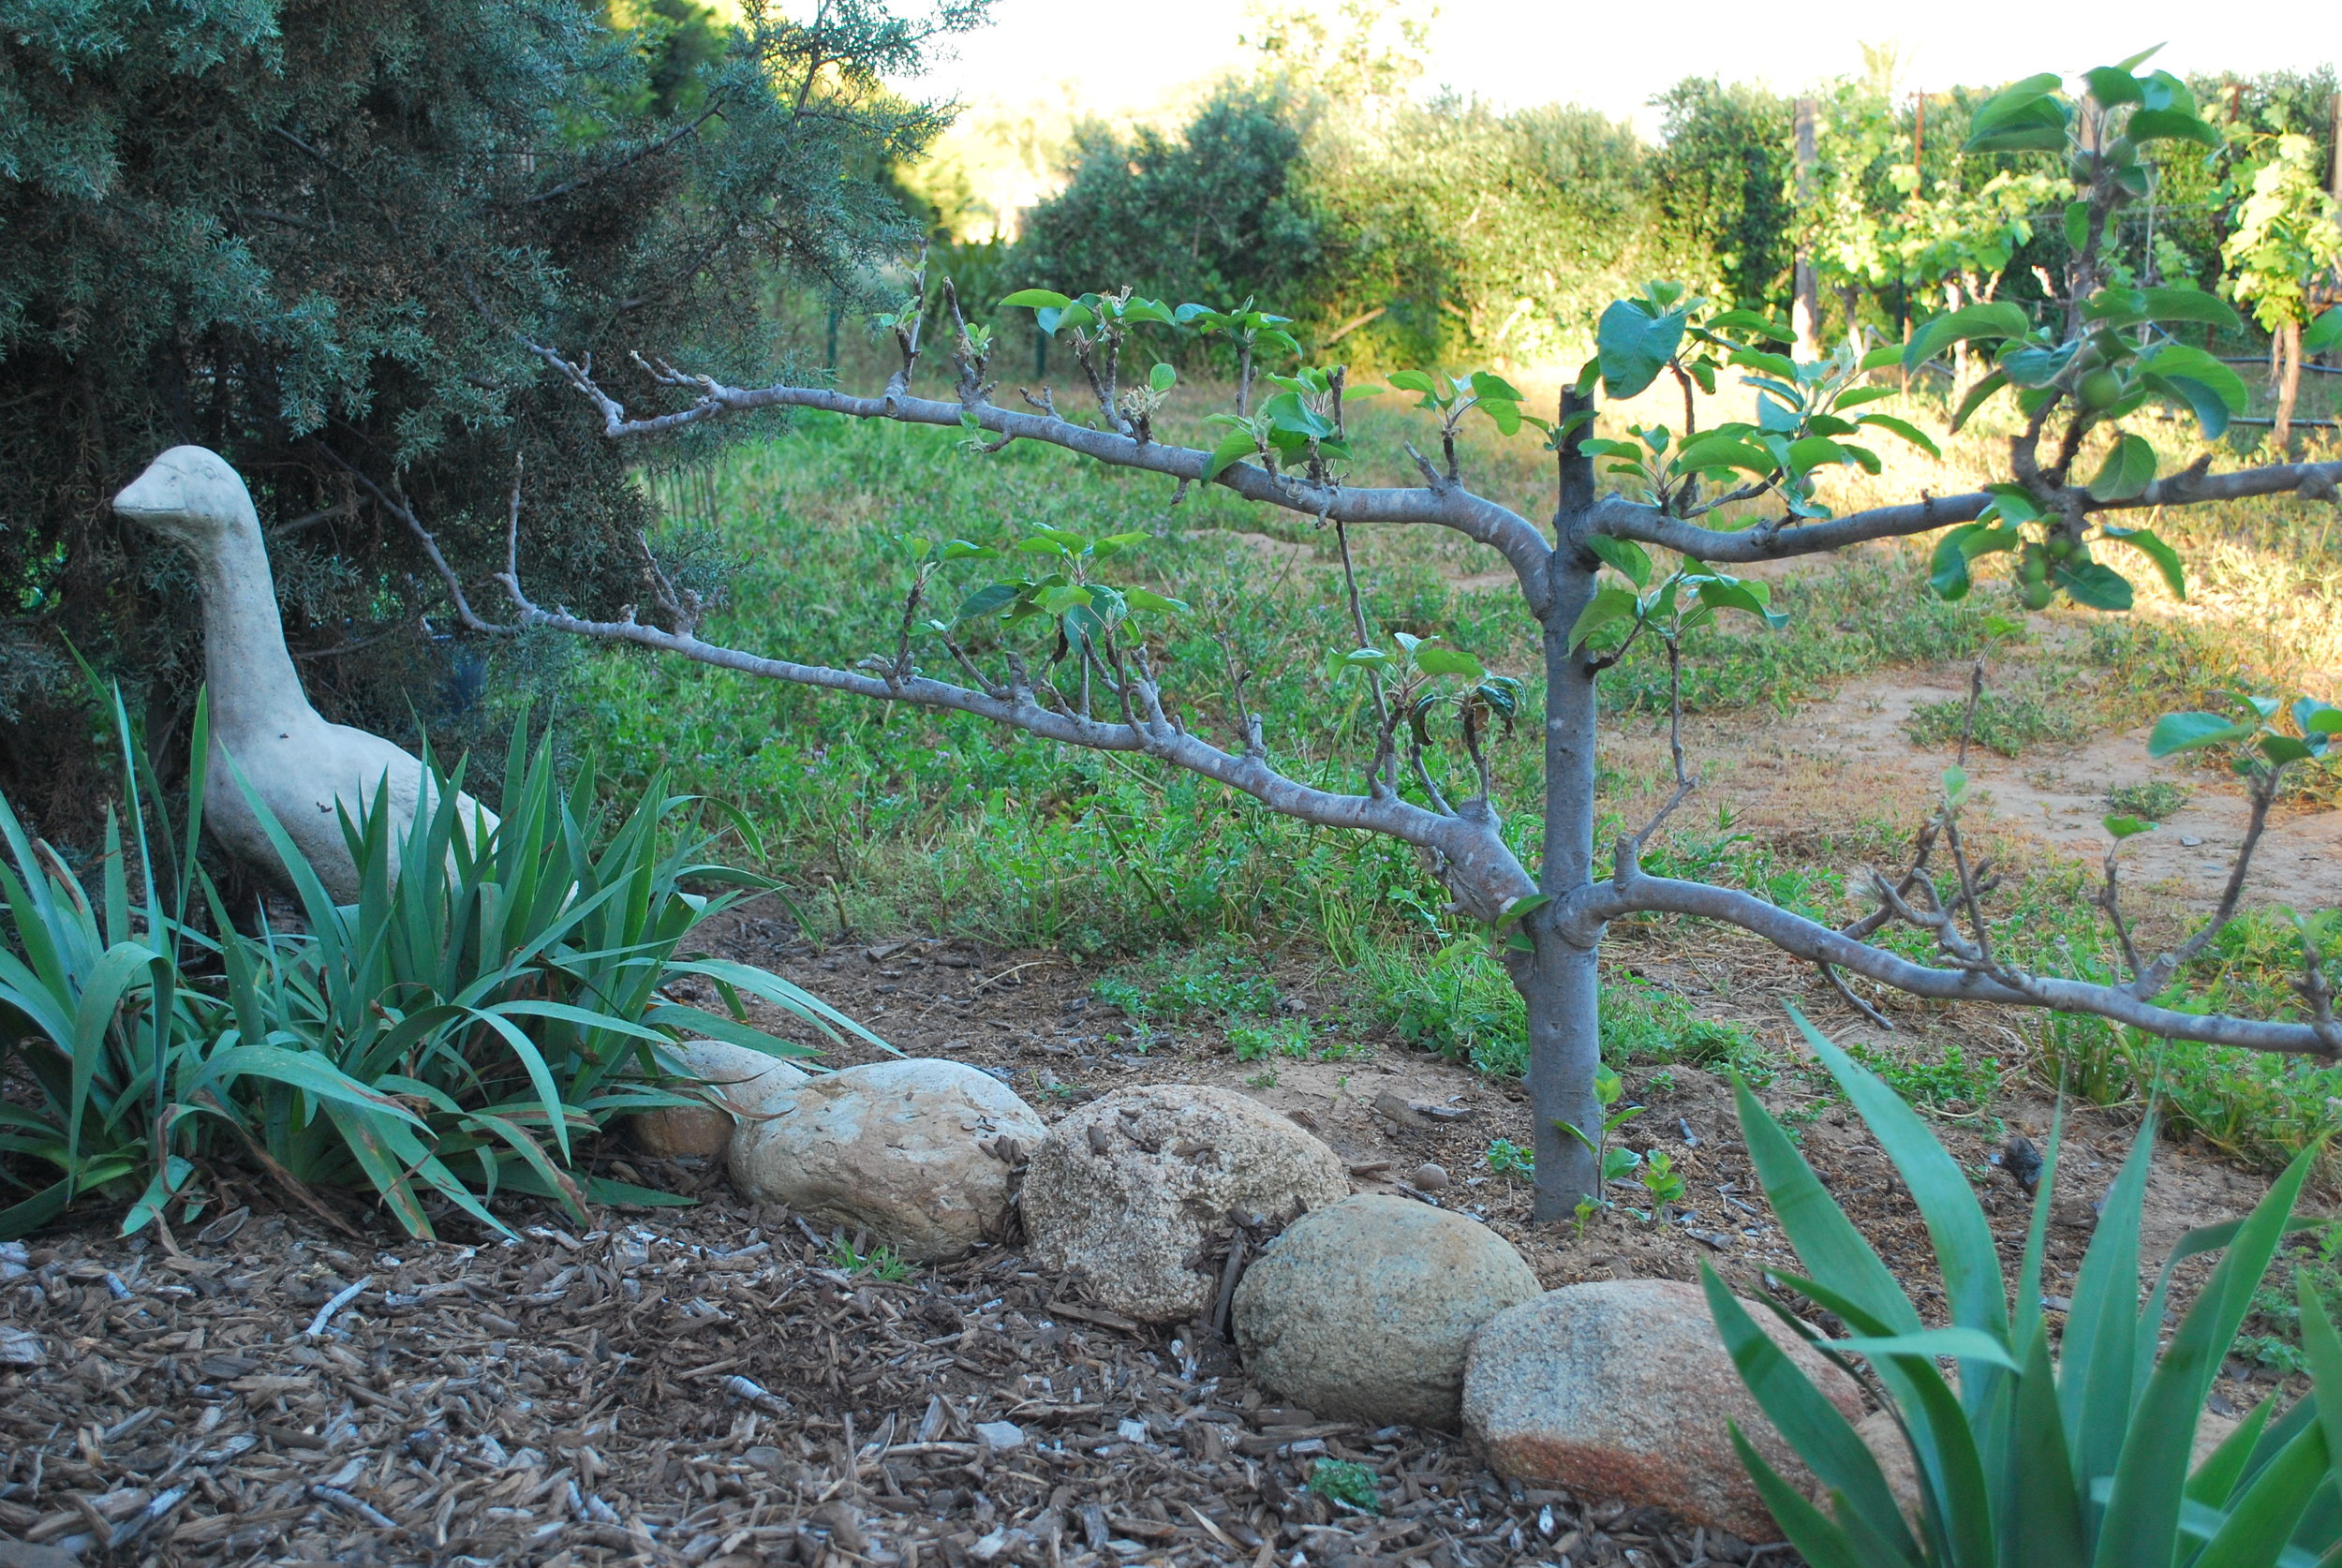
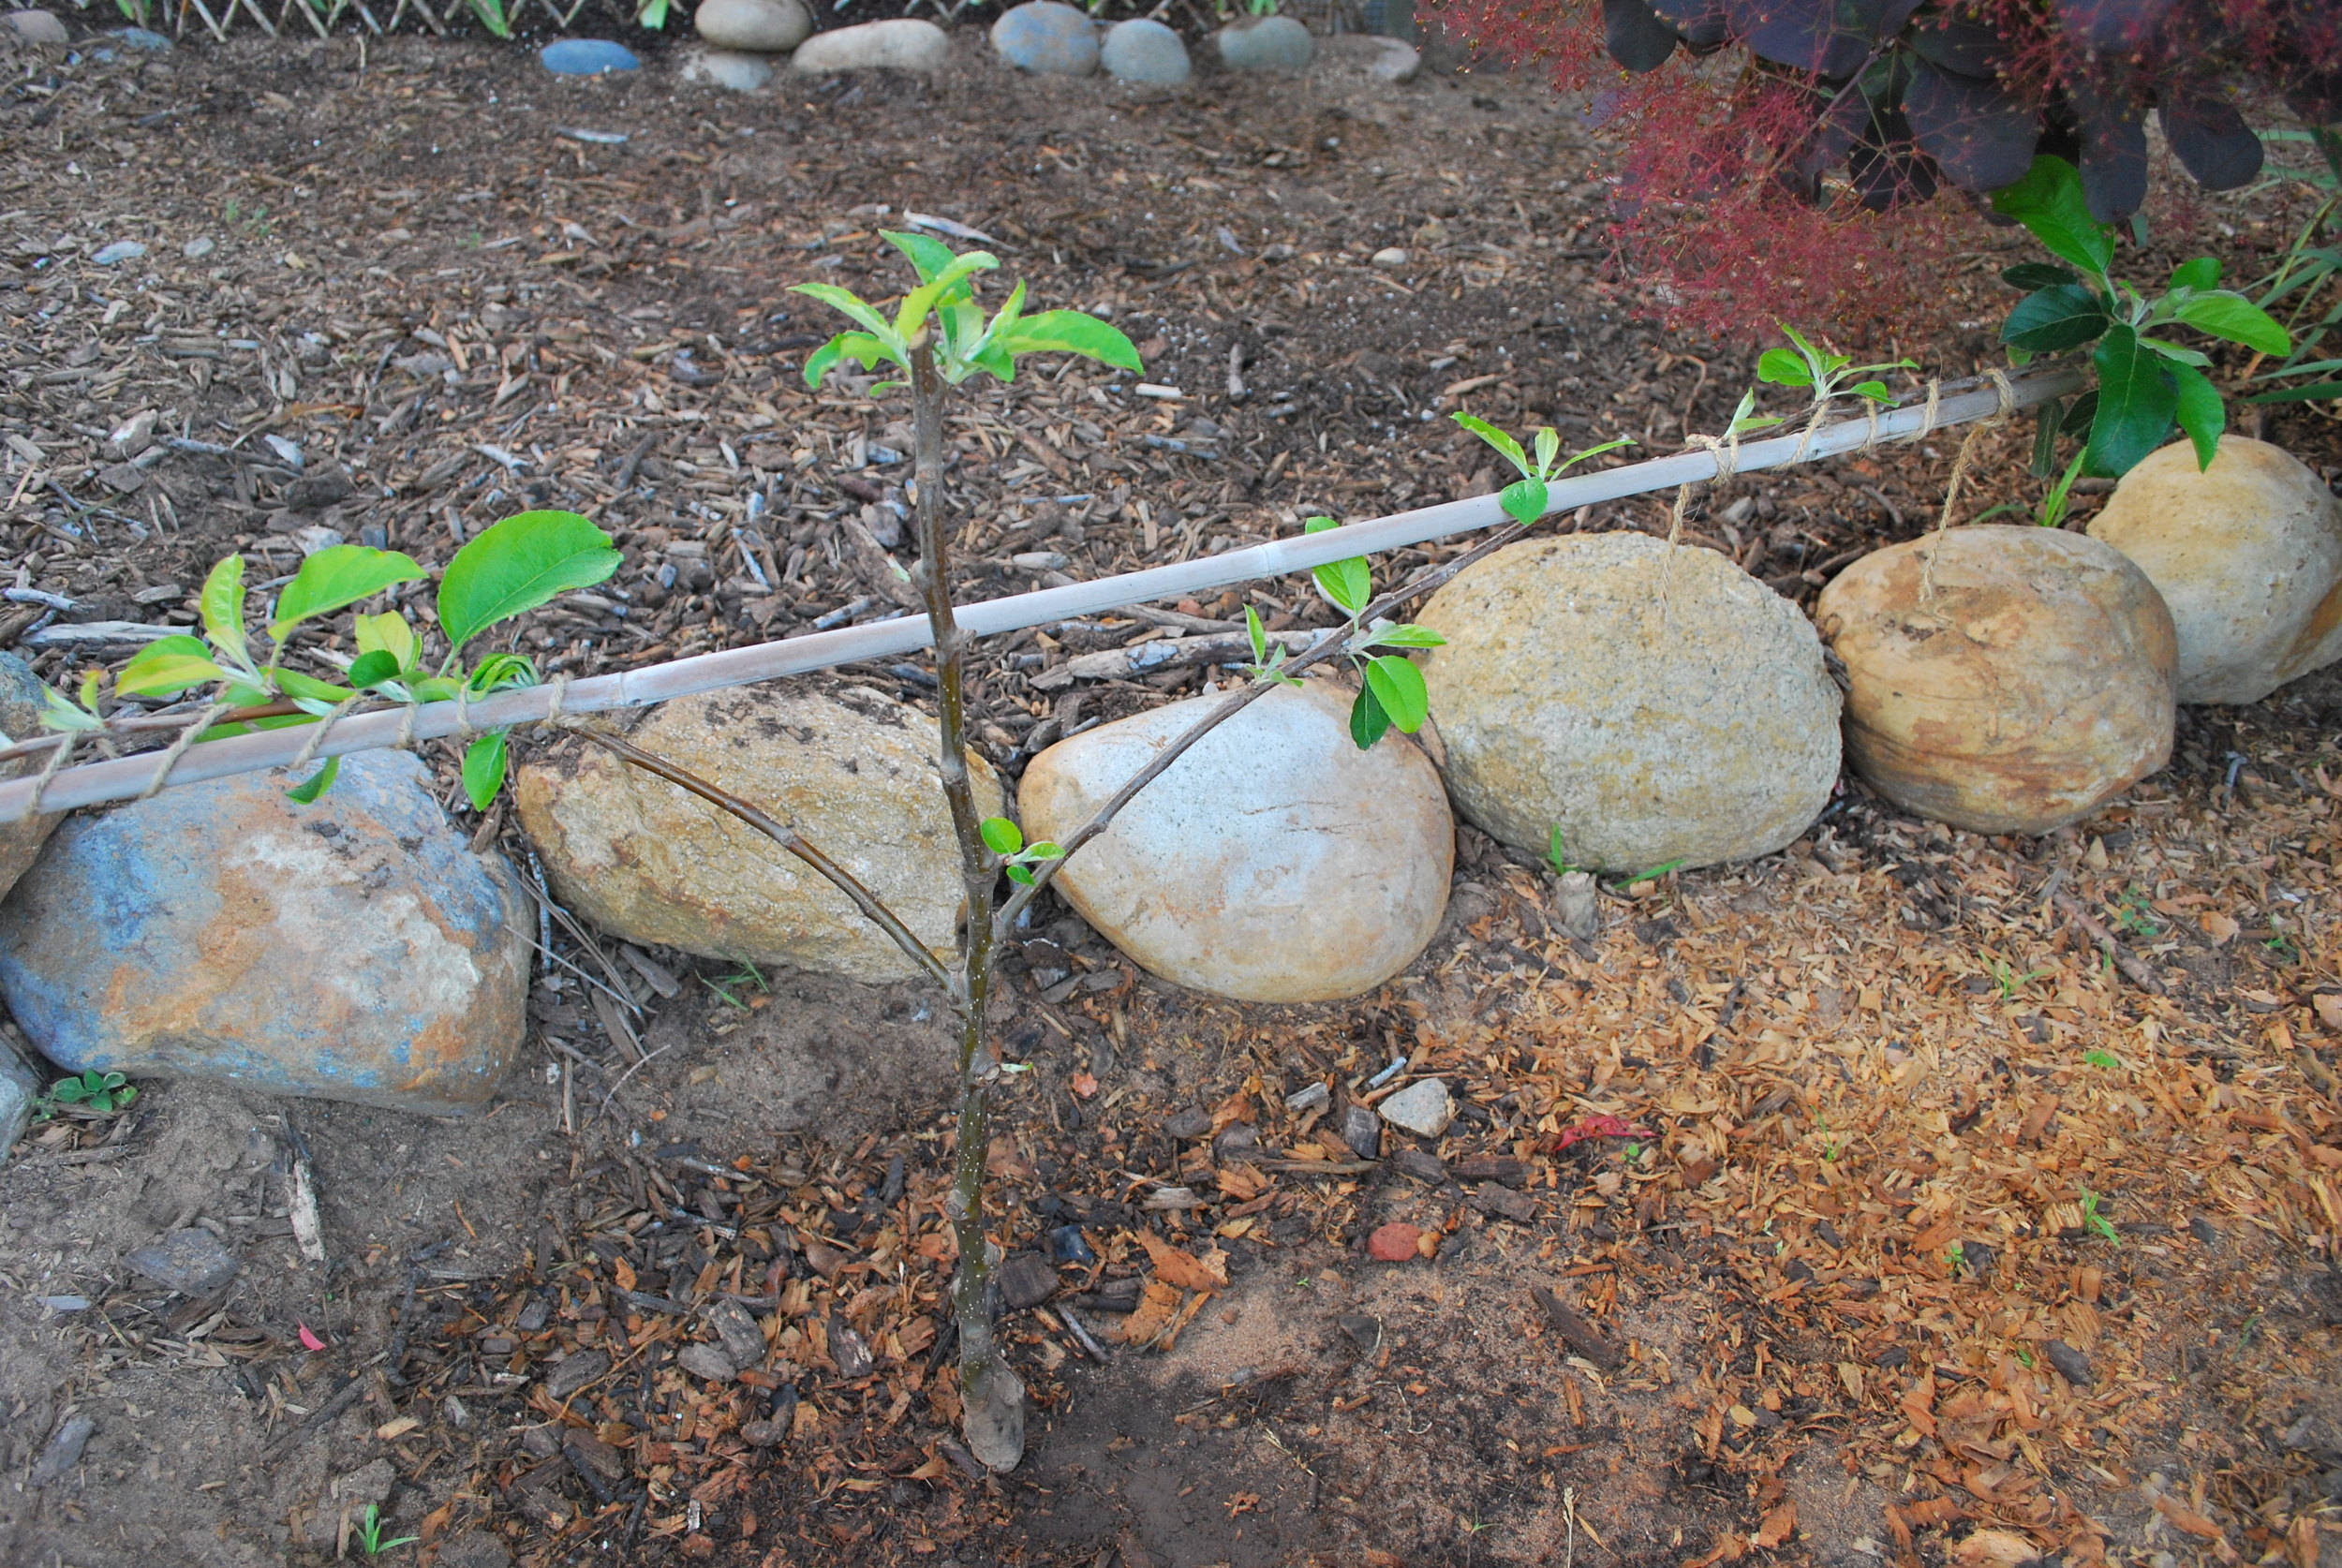
Staked Spiral Tomatoes
Chef Berard showed us how he plants many different varieties of tomatoes, and how he successfully stakes them individually, and anchors them with end poles. I must try and find this tomato pole for next year's growing season.

Provence Fountain, Olive Trees and Lavender
Everything was spectacular about this property, down to the Provencal fountain holding court amongst the olive trees, lavender, and iceberg roses. I highly recommend looking into cooking classes at La Bastide des Saveurs. Chef Berard will customize cooking classes for a group of six or more. You can find more detailed information at Hotel Berard.