Posts in Green Tips
Paperwhites For The Garden

Paperwhites Create Holiday Cheer In The Garden

If you force Paperwhites (part of the Narcissus family) in beautiful containers inside your home for the holidays, what do you do with them afterwards? Several years ago I started planting the spent bulbs in key spots in my garden. Just like clockwork they emerge on their own in the garden in time for the holidays. Not only do their spectacular blooms create a very special holiday feel to your garden, their heavenly scent is intoxicating as you pass by them. There are many, many Paperwhite varieties, and most can be found at garden stores and nurseries in late fall. Online bulb companies such as Brent and Becky’s Bulbs and Easy to Grow Bulbs offer a nice selection.

Plant them in a home entrance flower bed, near a gate, or a pathway to capture their scent as you pass by. Of course, this suggestion is for those who live in a Mediterranean climate, most varieties are hardy in USDA zones 9-11. My garden is in zone 10, and they are very happy. If you don’t live in the mentioned zones, enjoy your Paperwhites indoors.

Paperwhites like air, sunlight, and light water. They don’t like their feet wet, and they don’t need fertilizer. Planted in groups and mass in the garden they are spectacular. Bloom time is about 2 weeks. If you are planting your Paperwhite bulbs in the garden from a forced vase, it might take a few years for the bulbs to catch on and really shine. You can clip spent flowers, but keeping the green foliage and letting it brown and die back by itself, it actually provides energy to the bulb for next year’s blooming.

Please be aware the entire Paperwhite plant is toxic to pets and to people. It is the plant’s natural defense. If you have a curious pet, an inquisitive small child, or grandchild, you might not want to tempt them with reachable Paperwhites. On the other hand, Paperwhites will deter gophers and deer in their immediate area, so an added benefit, beauty and function.

Past Related Posts:

Big on Bloom

Narcissus Bulbs Deter Gophers

Bon Appétit et Bon Weekend….Bonnie
Fruit Bowl Statuary Flair
Fruit Bowl Statuary in Nuit-Saint Georges, Burgundy, France

Stone Fruit Bowl at Winery in Nuit-Saint Georges, Burgundy, France

When I speak about Mediterranean gardens and elements of a Mediterranean garden, I always mention aged stone elements, and specifically, the beauty and timelessness of stone fruit bowls. If you happen to see them in garden centers, antique shops, consignment shops, garage sales, or elsewhere—pick them up. You can’t go wrong with what they add to your garden.

Such an easy way to add a special flair to your garden, with no upkeep. In fact, in the photo above in Burgundy, an aged stone fruit bowl with lichen patina adds garden depth. These fruit bowls can weather the seasons with grace.

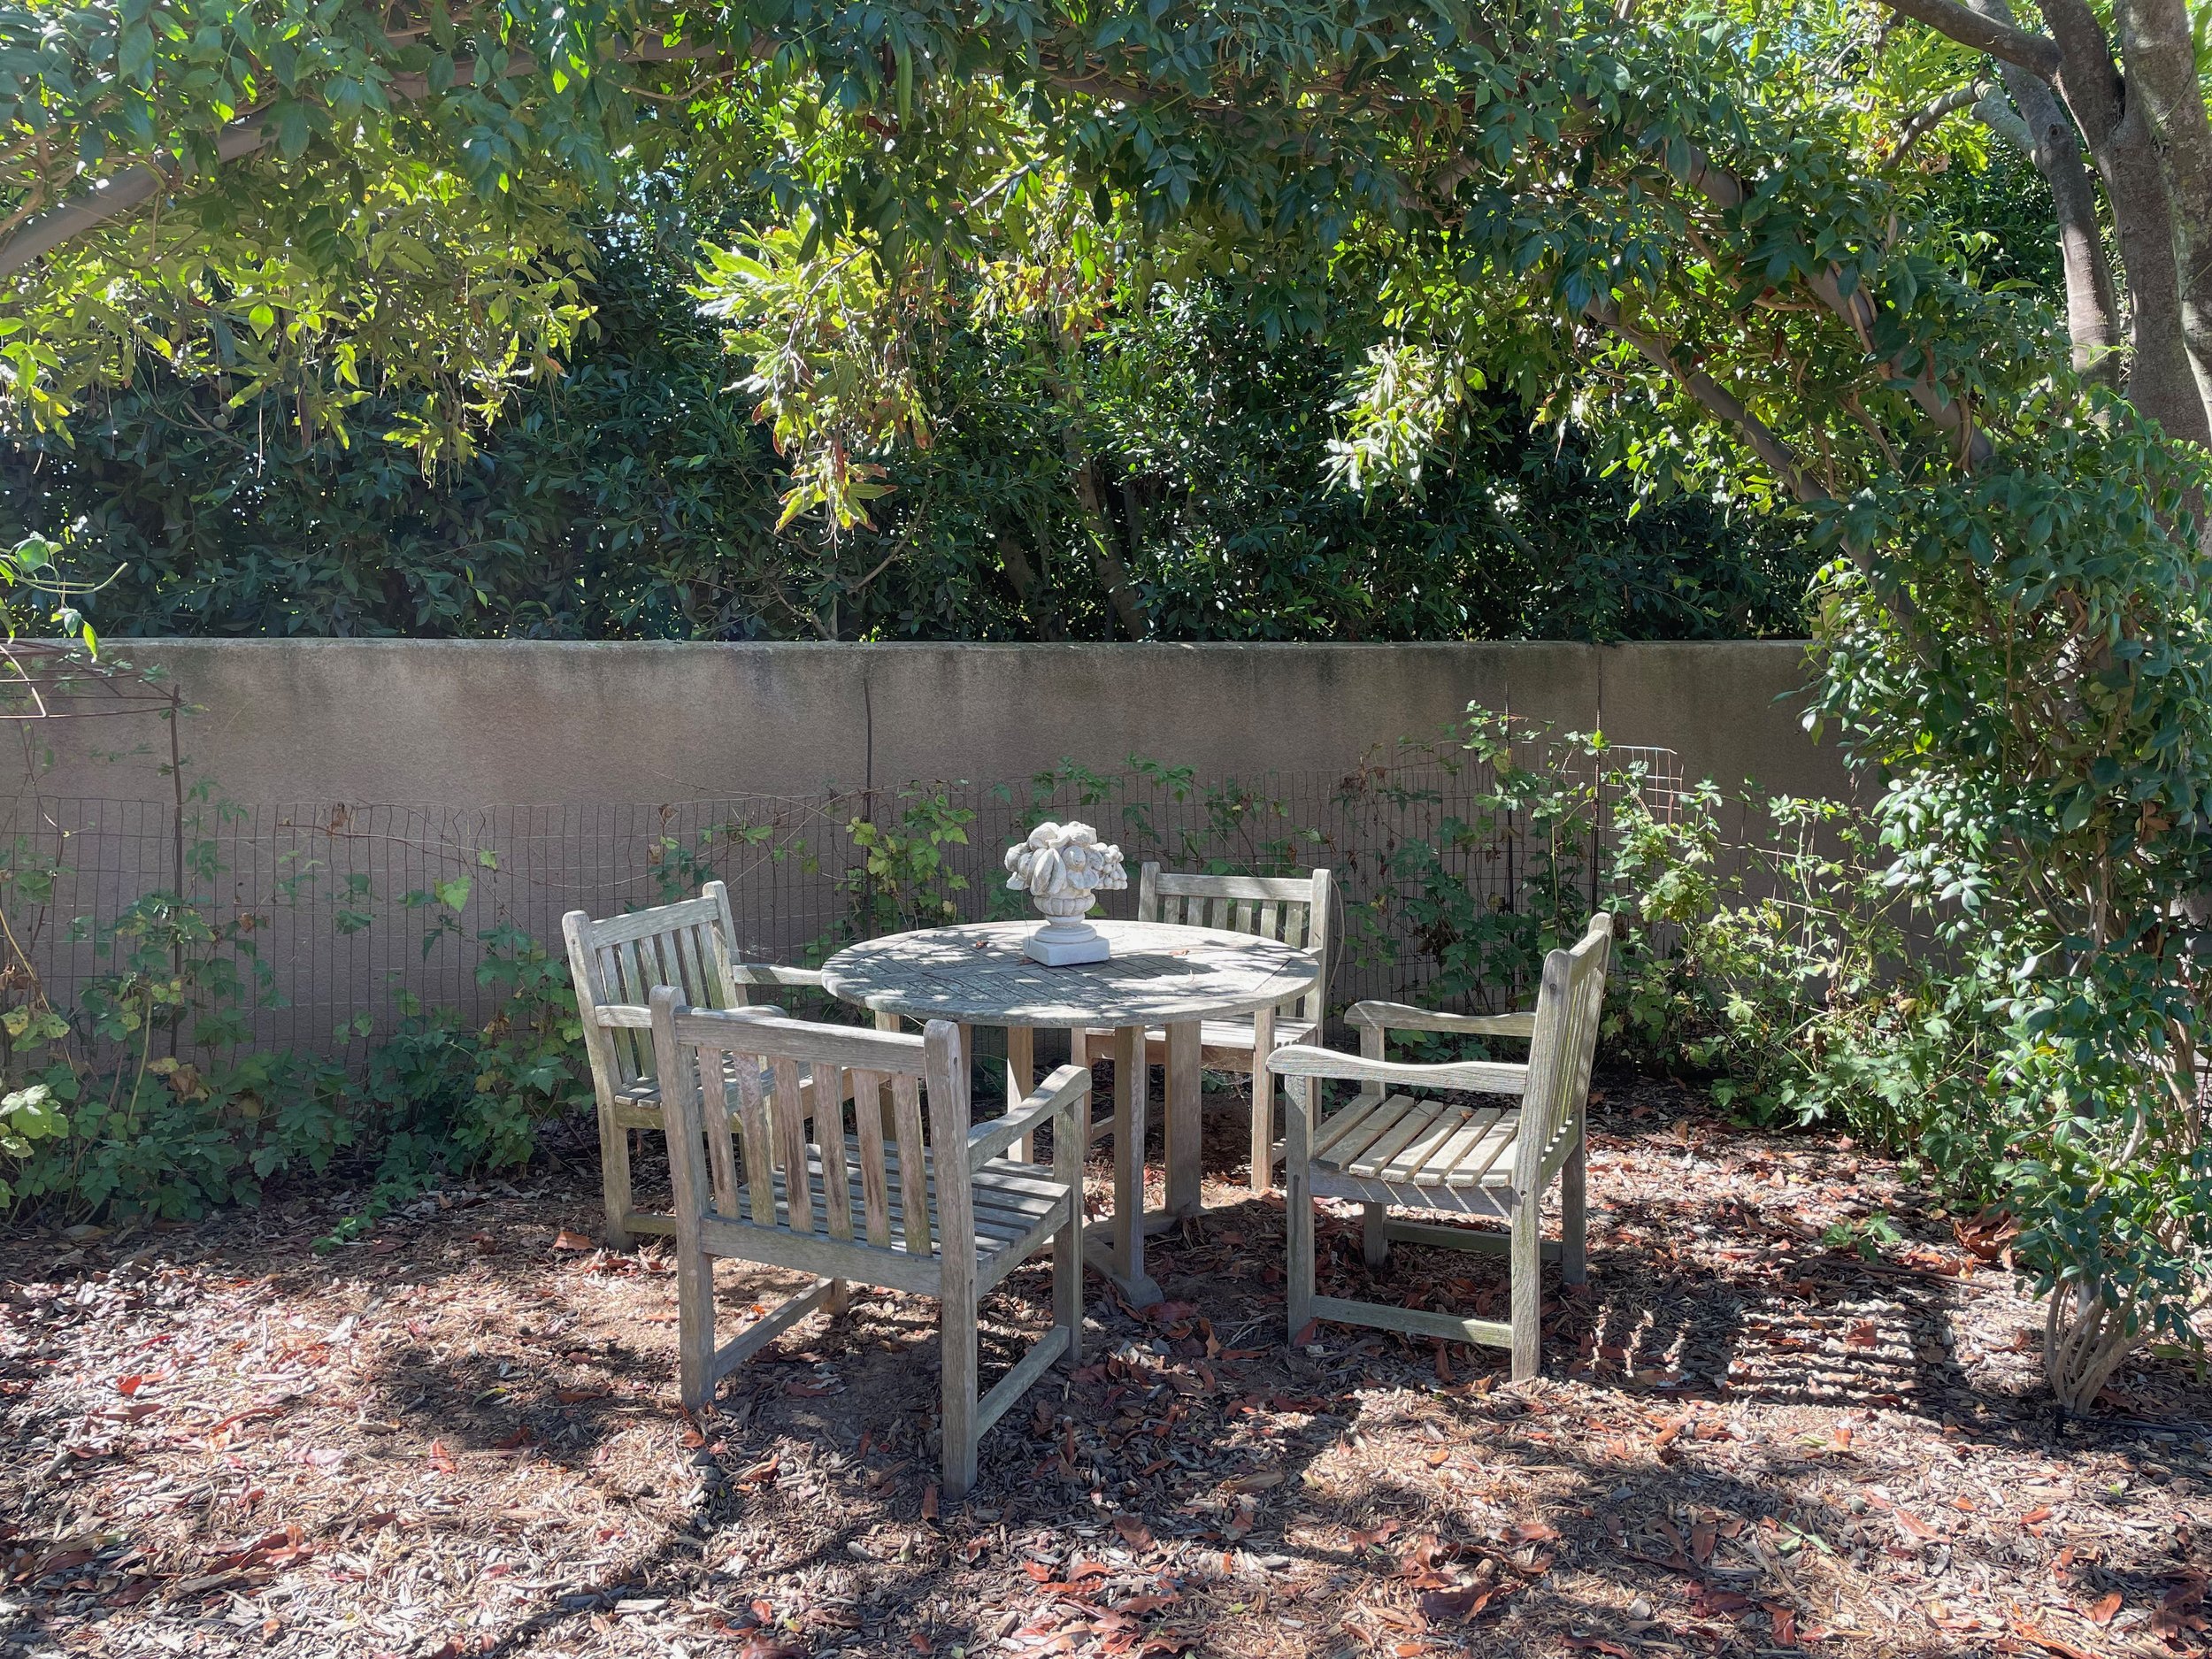
Usually sold in pairs, I see them single too. I have five throughout my garden, a pair welcoming you at my front gate, a pair in my courtyard, and a single petite fruit bowl as a table centerpiece. Stone fruit bowls come in different sizes and artistry, all are so beautiful. Somewhat neutral to your eye, yet rich in detail and texture. Stone fruit bowls can be heavy, so make sure they are stable and secure in your placement.

Fruit Bowl Statuary in Courtyard at Domaine de Manion

Pair of Stone Fruit Bowls in Courtyard at Domaine de Manion

I like it that stone fruit bowls almost tell a story by themselves. You can almost imagine a story of how they were found and placed in a garden, or make one up. Either way, they are in a garden for the long haul.

Centerpiece Stone Fruit Bowl On Garden Table

Stone Fruit Bowl as a Centerpiece In My Berry Room

Bellini Imports is one resource in Encinitas where I found my petite single fruit bowl. Actually, all of the shops in Westlake Design District in Encinitas, might be worth wandering through if you are looking for fruit bowl statuary.

Single Fruit Bowl Statuary in Garden at Domaine Dalmeran in Provence

Single Stone Fruit Bowl Graces the Garden at Domaine Dalmeran, St. Etienne-du-Grès, Provence

Related Past Posts:

Haute Halloween Couture

Creating A Bocce Ball Court

Bon Appétit et Bon Weekend…Bonnie

Rethinking Tree Stumps

An Avocado Stump Becomes a Statuary Pedestal

I love to repurpose things for other functions than they were originally intended. Usually it is vintage or antique pieces, but in this case a tree stump. I love trees, and try and nourish and manage them as best I can. Sometimes severe weather, a tree planted in the wrong place, or maybe just “the end of a life cycle” for a tree dictates that it must come down.

Such was the case with a few of our avocado trees on our property. Originally, I believe, our property was a working orchard with rows of avocado and macadamia trees. We still have our incredible macadamia trees, but the avocado trees were on their last legs when we bought our property. After a few years, I realized these avocado trees were never making a comeback.

Rather than cutting the tree at the soil level, I thought to use it as a base for a high boy table at first, and left a tall stump. This goes along with the intertwining “beauty and function” philosophy of French Country living. “It must be beautiful, and also functional.” The high boy table idea, didn’t work out for me, but ultimately it provided the perfect pedestal for my “life like” horse statuary. A tree stump is beautiful, timeless, and functional in many creative directions. I began to landscape around the horse and pedestal, planting three Italian cypress in 15 gallon pots in the ground to keep them somewhat small, and adding a climbing rose that now has support. It became a small vignette.

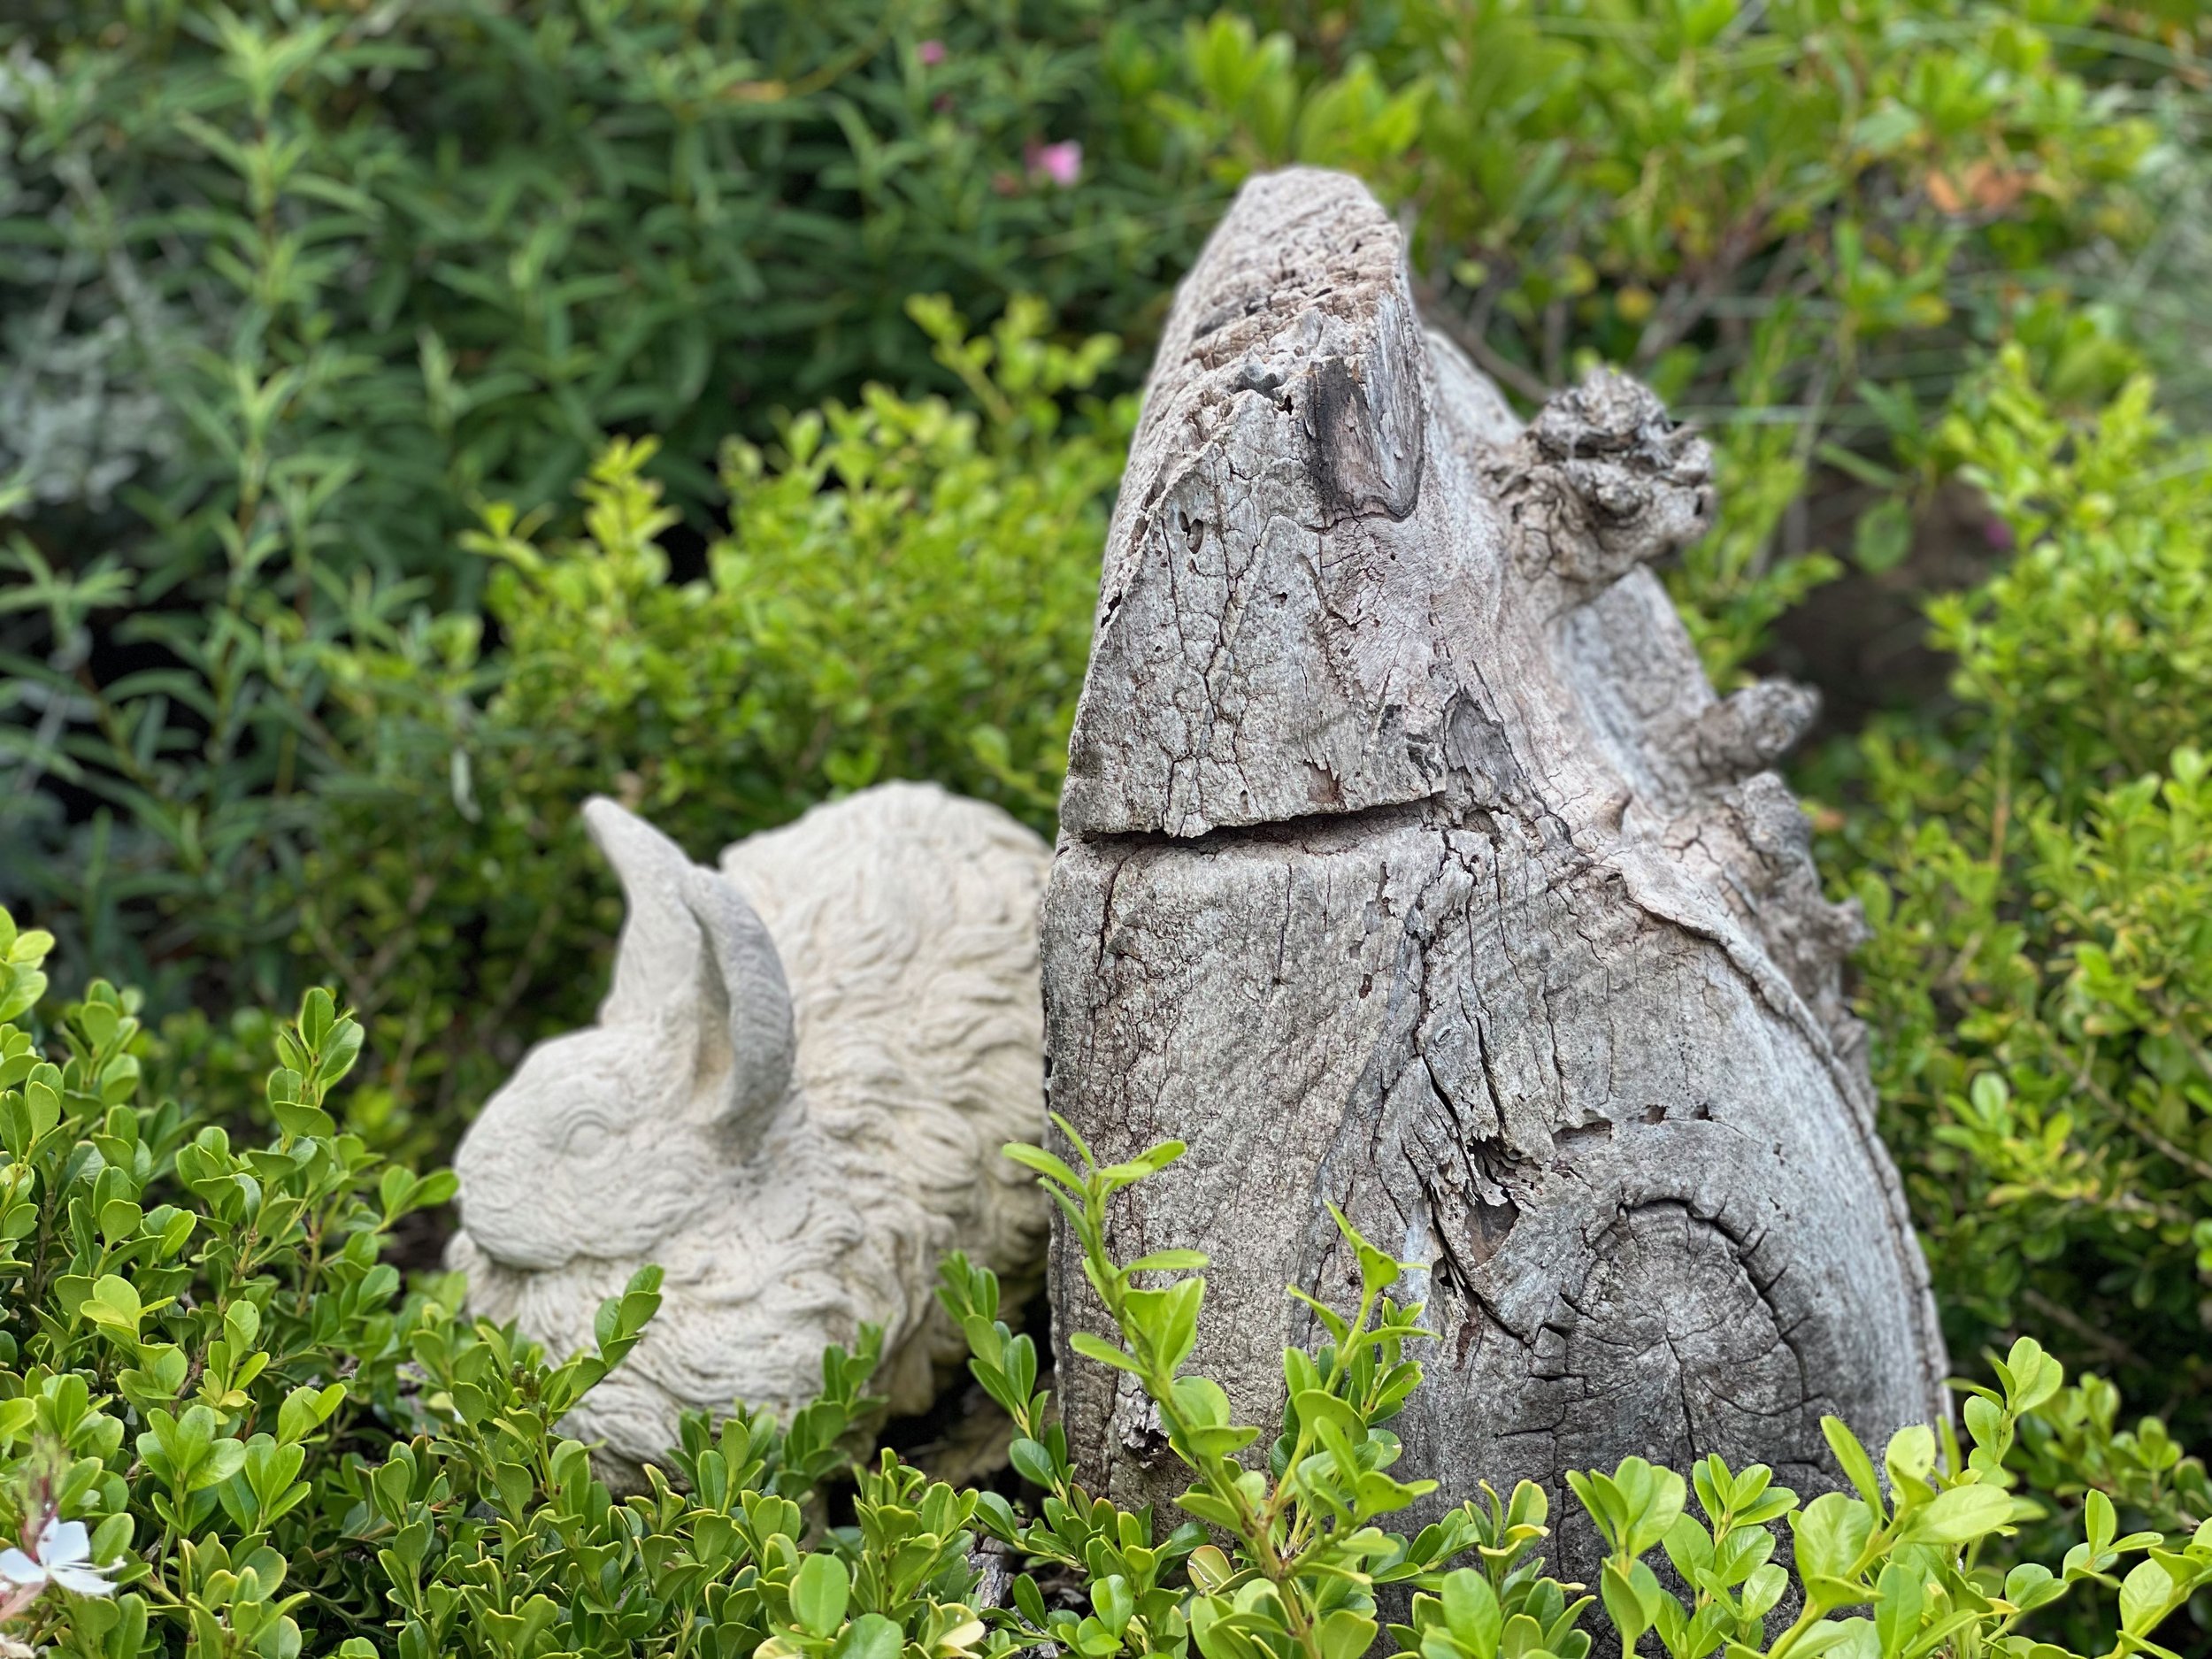
Tree Stump a Perfect Spot for a Resting French Lapin, French Country Living

A Tree Stump Provides a Perfect Spot for a Resting French Lapin

With another nearby failing avocado tree, I was going to create a little garden chair with a stump, but ultimately decided it was a perfect spot to nestle and elevate a peaceful statuary French lapin. There again it provides beauty and function and a nice focal spot for this particular garden room. All timeless.

If you have a tree that has to come down, think first about what you could creatively make using its stump. It has had a history on your property, and it can continue repurposed in a different way and function. I have seen beautiful wood bars and/or furniture made from felled trees. I mentioned a few ideas, but the possibilities are endless.

My point here is not really about tree stumps, it is suggesting to you to keep an open mind about repurposing objects and things, and keep your creative mind flexed about possibilities all around you in your world. In other words, keep the concept “lemons into lemonade” flowing. You never know what wonderful unique piece or solution could evolve for you with your home and garden.

Bon Appétit et Bon Weekend….Bonnie

Squirrel Strategizing

New “A Frame” Fencing Over Raised Beds

I started this potager or vegetable garden on the north perimeter of our property from virtually a blank slate. I enclosed it with willow fencing, planted a privacy Podicarpus landscape wall, built raised bed kits, created pathways, irrigated, and further planted climbing roses and tree topiaries. It faces a sunny south exposure, and it worked. I was able to grow a lot of wonderful seasonal vegetables.

Eventually the word got out amongst the squirrels, there was good eatin’ at the Manion potager. This year we have live-trapped and relocated 21 squirrels to better digs. It didn’t help. I love wildlife, and closely observe the little ecosystem around us with great pleasure. See below for a related post.

My husband, John, made these “A” Frames over our raised vegetable beds. Actually, this idea came from my uncle, on his property in upper Wisconsin. These “A” frames are time consuming, but really are protective of your vegetables. Each side is a 4’ x 8’ frame (for a 4’ x 8’ raised vegetable bed) with matching triangle ends and support. The screen is 1/2” wire hardware mesh, which is stapled onto the framework. Two hinges at the top of each side allow you to lift up the side and work on your vegetable beds when you need to. Hook and eyes on each end are further security from any bandits trying to get in. It is a pretty simple design that is very effective.


I have experienced different pests, insects, and wildlife through cycles in my garden. One year I experienced a lot of tomato worms. One year I saw a lot of delicate dragonflys. One year rabbits were really a problem. Right now it is squirrels. So I know this too shall pass.

In the meantime, I am securing everything I can with chicken wire, and hardware mesh. Please share if you are having trouble with wildlife in your garden.

Related Post:

Eyes on You

Bon Appétit et Bon Weekend…Bonnie

Prepping the Vineyard

Spring Prepping the Vineyard

I mentioned previously a few weeks ago, all of the spring sprucing I was doing in the garden. Well, my husband, John, and I have also been doing some sprucing in the vineyard, and prepping for the year ahead. It can be a big chore, but also very rewarding. Time well spent now means a continued healthy vineyard and a successful harvest in the fall.

Vines have been pruned back to their two cordon arms. Vineyard rows have been mowed twice already to keep weeds low and at bay. I have tried sowing cover crops a few times between the rows, but have been unsuccessful most likely because of low winter rains. The vines have drip irrigation at each plant, but no irrigation in the rows.

For one reason or another, our grapes last harvest were beautiful, but half of our normal yield. I heard and read that most of California vineyards had lower than usual yields. It could also have been very little winter rains, high winds at flowering, etc. Many factors could have played into it.

I have added compost to our vines before, and thought it might be a good time to add some rich compost to them this year. While I am doing my flower beds, let’s do the vineyard too!

This year I added and mixed in three generous shovels of compost to the base of each grapevine to add back organic nitrogen. Compost has amazing qualities to benefit soil and plants. See below for my many related past posts on composting. I am composting year-round, but with the quantity to cover each grapevine, I bought a yard and a half of compost from Agriservice El Corazon in Oceanside. It helps if you have a truck, or access to a truck, although Agri Service El Corazon delivers too. If interested in delivery services, please visit their information online, and call them for more details.

Adding Rich Compost to Each Grapevine Base

I have been composting for a very long time on our property. When you have chickens, it is almost a necessity. Chicken manure is “green gold” and not to be wasted. It is a perfect green to add to your compost bin besides your kitchen scraps, and landscape greens. It is a hot manure however, and will burn your plants if it not aged and broken down into compost with your other ingredients.

I add compost mixed with my soil for every plant, tree, and vegetable bed I plant. Compost adds back valuable nitrogen, and has about ten fantastic attributes. Compost is also very dark and adds a dressy look to your flower beds and around your landscape.

For composting tools, products, and services, please look into what your local city offers. You might be surprised.

Related Past Posts on Composting:

Ten Ways Composting Benefits Your Soil

How to Compost in Your Backyard

The Green Way to Lose a Lawn

Bon Appétit et Bon Weekend…Bonnie

Valentine's Day Tablescaping
Say Love With This Centerpiece

Say Love With This Centerpiece

Usually around Valentine’s Day we see long-stemmed roses for celebration, but this simple centerpiece is just as striking and dramatic. I used an ivory rose, but with your own tablescaping you can make this centerpiece with any color of your choice—a soft lavender, perhaps a dusty pink, or the classic red rose.

Don’t forget to save out a rose for your loved ones to wear in a shirt pocket, lapel, or secured behind an ear.

Simple To Put Together

Simple To Put Together

How To Assemble: Find fresh roses the color of your choice. Remove the outside petals of your roses. Have your waterproof vessel shape and choice on hand. Be sure to protect your buffet or table adequately from moisture. I confess I did this arrangement years ago, before it became clear not to use toxic floral foam. Instead of floral foam, great alternatives are molded chicken wire to your vessel shape, lattice style floral tape across your desired vessel, or even using a floral frog (vintage or new) secured on the bottom of your vessel with waterproof floral frog clay. All of these supplies generally can be found at craft stores, floral supply stores, or online. Cut your roses short on an angle to the desired height. Fill in foliage laterally from the garden with perhaps, juniper, boxwood, or rosemary clippings. Keep filling in foliage until you are satisfied. In time, your roses will open up further, meeting each other.

Add in the Foliage Until Little of Your Vessel Shows

Add in the Foliage Until Little of Your Vessel Shows


I have more great Valentine’s Day tablescaping tips for you with these two short fantastic Instagram videos. Both of these videos remind you not to forget the candles, the music, chocolate, champagne and have fun!

Sarah Anderson, Founder of Chateau Sonoma, a fantastic Frenchie shop now located on the Sonoma Plaza in Sonoma. www.chateausonoma.com. Where in the world did Sarah find her champagne glasses.

Robyns_French Nest, Robyn Huff out of Florida, www.robynsfrenchnest.com, you will love her French passion for vintage. Robyn created her tablescape for about $10.00, some petite DIY, and a few vintage things she had. Amazing!


Valentine’s Day has been on my mind all month! Remember February is Love! It is just one of these years when you want to hold your loved ones close and embrace the love, and present moment that surrounds you. I will be making my Dark Chocolate Terrine with Orange Sauce.

Wishing you a Bon Weekend, and a very memorable Valentine’s Day filled with love……Blessings, Bonnie


Big on Bulbs
First Year Blooming

First Year Blooming

Over the years I have seen great articles on planting swaths of narcissus bulbs to naturalize in your lawn. It was a project I had always wanted to do. In the February 2019 issue of Better Homes & Gardens, a very informative and enticing article, motivated me to buy 200 Heavenly All-White Mixture narcissus bulbs in the fall, refrigerate them for weeks, create my design, and plant them.

My garden is always one big experiment after another, some ideas work great, some don’t. I thought a lawn filled with happy narcissus was more likely to thrive back East rather than in Southern California. The very pleasant folks at Van Engelen assured me if I refrigerated my bulbs first for 8 to 10 weeks, the bulbs would bloom beautifully in a Southern California garden, and would bloom every year thereafter. There are varieties that will do better than others, so always ask, and do your homework. Some bulb companies feature a “Warmer Climate Bulb” category to assist you. I was so pleasantly surprised at the beauty and success I had in planting the first bulbs, that I ordered another 100 bulbs, and have them in the refrigerator now. Other bulb websites to shop at are Brent and Becky’s Bulbs , Easy To Grow Bulbs (located in Southern California) and Floret Flowers.

Garden Tip: Shop bulb catalogs and websites over the summer. Make your wish list. Order early, as bulbs often sell out. Refrigerate your bulbs if necessary for suggested time. Plant in fall when weather cools, and temperatures drop below 55 degrees. Patiently wait for spring. Et voilà!

 
Do Your Homework

Do Your Homework


Narcissus bulbs are a great addition to your garden, once you plant them, they give back every year with their effortless blooming, and symbolically announce the beginning of spring. Not only are they striking in mass, they naturally deter gophers, and so are functional as well in your garden. I list here a few additional posts about narcissus bulbs from my blog archive for your reference.

Do you have narcissus bulbs in your garden?

Narcissus Bulbs Naturally Deter Gophers

Go Green With Gophers

How to Grow Perfect Paperwhites


Boxwood Bonus

We all know how beautiful boxwood can be clipped in a formal garden, but have you thought about using boxwood as literally a very "green" oasis for your floral arrangements? I have a dear friend who is very talented in creating magnificent floral arrangements from her garden. On a recent visit to her showcase garden, she showed me how to use her boxwood from her garden as a way to secure her flowers in their vases. Clipped boxwood anchors your flower stems, looks great especially in your clear vases, and is what I call "garden economizing"--free from your garden.

The added advantage of using boxwood is that it will keep for a long time in your vase, far outlasting your cut flowers. Simply cut boxwood pieces to your desired floral vase or container size. Arrange them under water until your vase is full of boxwood clippings, and next add your cut flowers. The boxwood will hold your flowers in the spot you place them. I love the look, very classic, very green, and very earth-friendly.

Please share if you use a green, alternative to oasis for your floral arrangements. Please comment on which boxwood your enjoy the most.