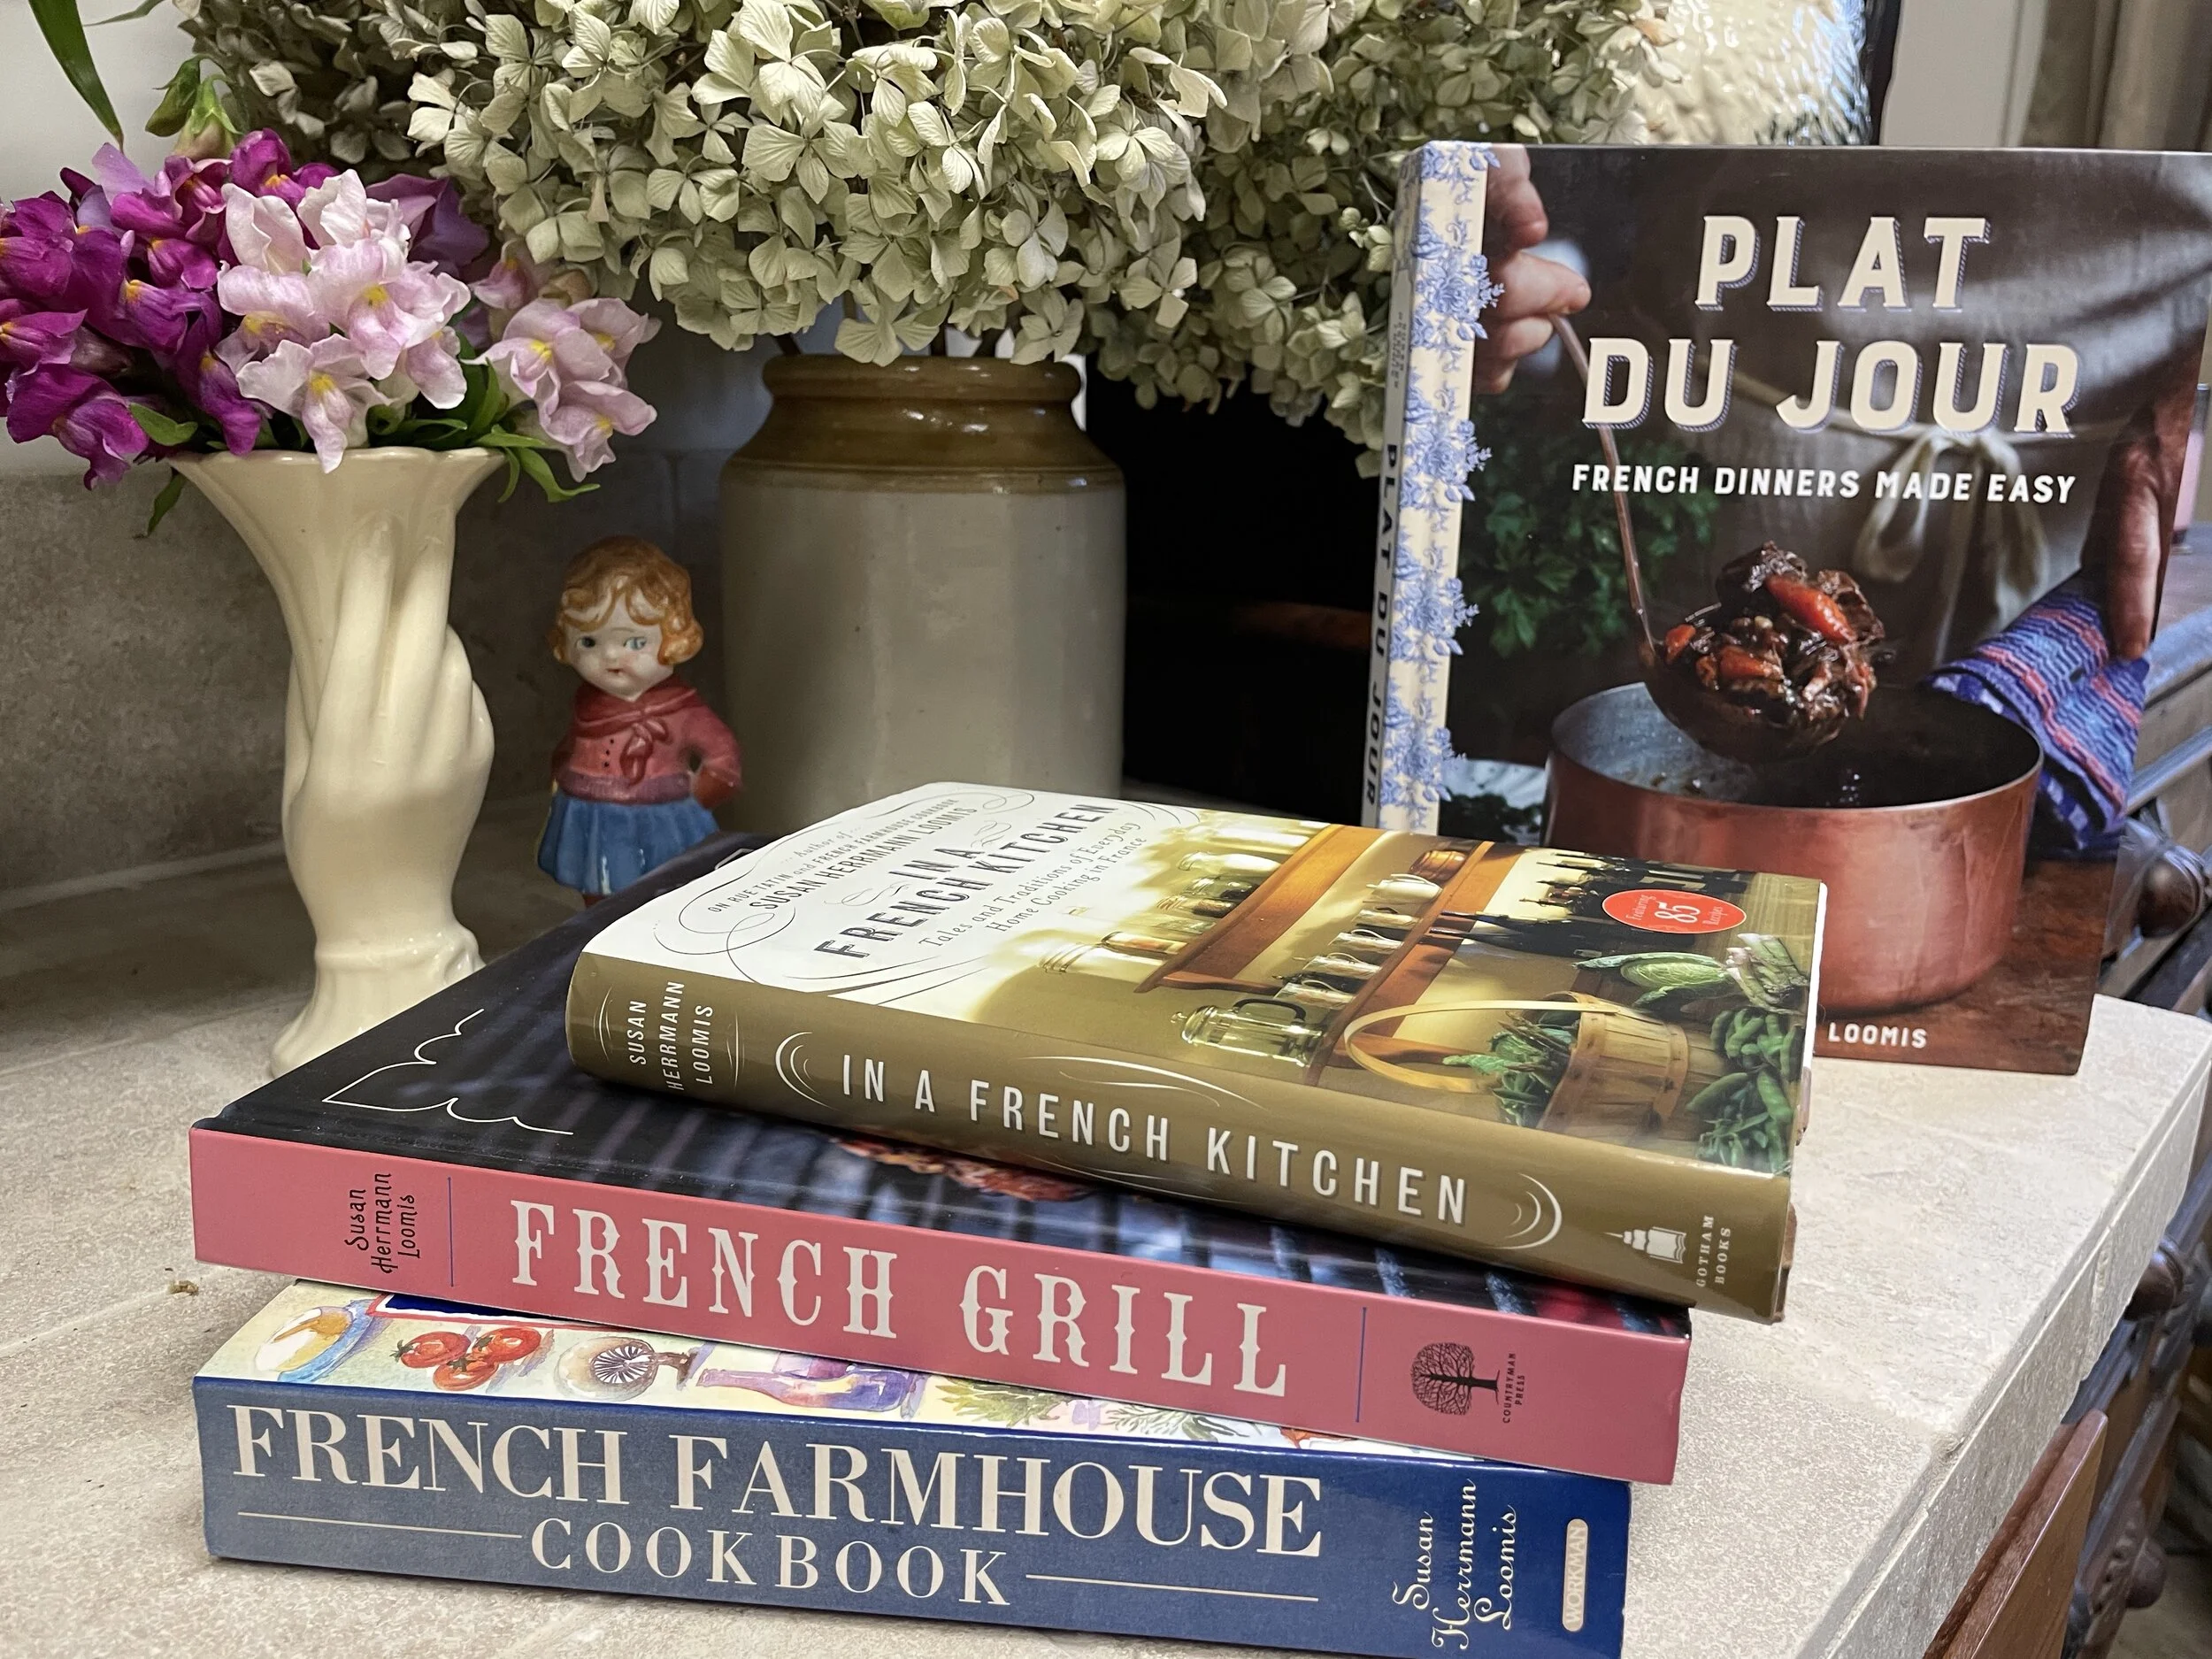
Susan Herrmann Loomis’ Latest Cookbook, Plat du Jour
I have several cookbooks by Susan Herrmann Loomis, and have really enjoyed them over the years. An American expat who has successfully navigated the fine art of being French, cooking the French way, sharing with us French food secrets, and reinventing herself through culinary as her medium. Her cookbooks read like novels, always sharing the story, the custom, and the technique behind the recipe.
Her latest cookbook, Plat du Jour, French Dinners Made Easy, Countryman Press 2021, focuses on seasonal recipes and ingredients, and ultimately daily dishes that inspire chefs to feature and post on their menu boards.
Susan Herrmann Loomis has a new website, Dancing Tomatoes, and YouTube Channel Dancing Tomatoes, currently highlighting many of the recipes in her new cookbook, Plat du Jour. Below are a few videos. The first video is an introduction to Dancing Tomatoes, her new YouTube channel, and how it came about. The second video walks us through her King Henry Soup. I love her demonstration of how to dice an onion and a shallot. You might also enjoy Shannon Able’s, The Simply Luxurious Life podcast #300 with Susan Herrmann Loomis. Enjoy!
I met Susan Herrmann Loomis at her book signing event in 2015 for her then new cookbook, In A French Kitchen, at Melissa’s Produce in Los Angeles. Taking one of her Paris cooking classes has never quite worked out with my travel itineraries. Now with her Dancing Tomatoes videos, her classes are a click away!
Please share if you enjoy Susan Herrmann Loomis recipes and cookbooks.
Bon Appétit and Bon Weekend….Bonnie

Melissa’s Produce, Los Angeles 2015