Posts in Desserts
Show Mom The Love

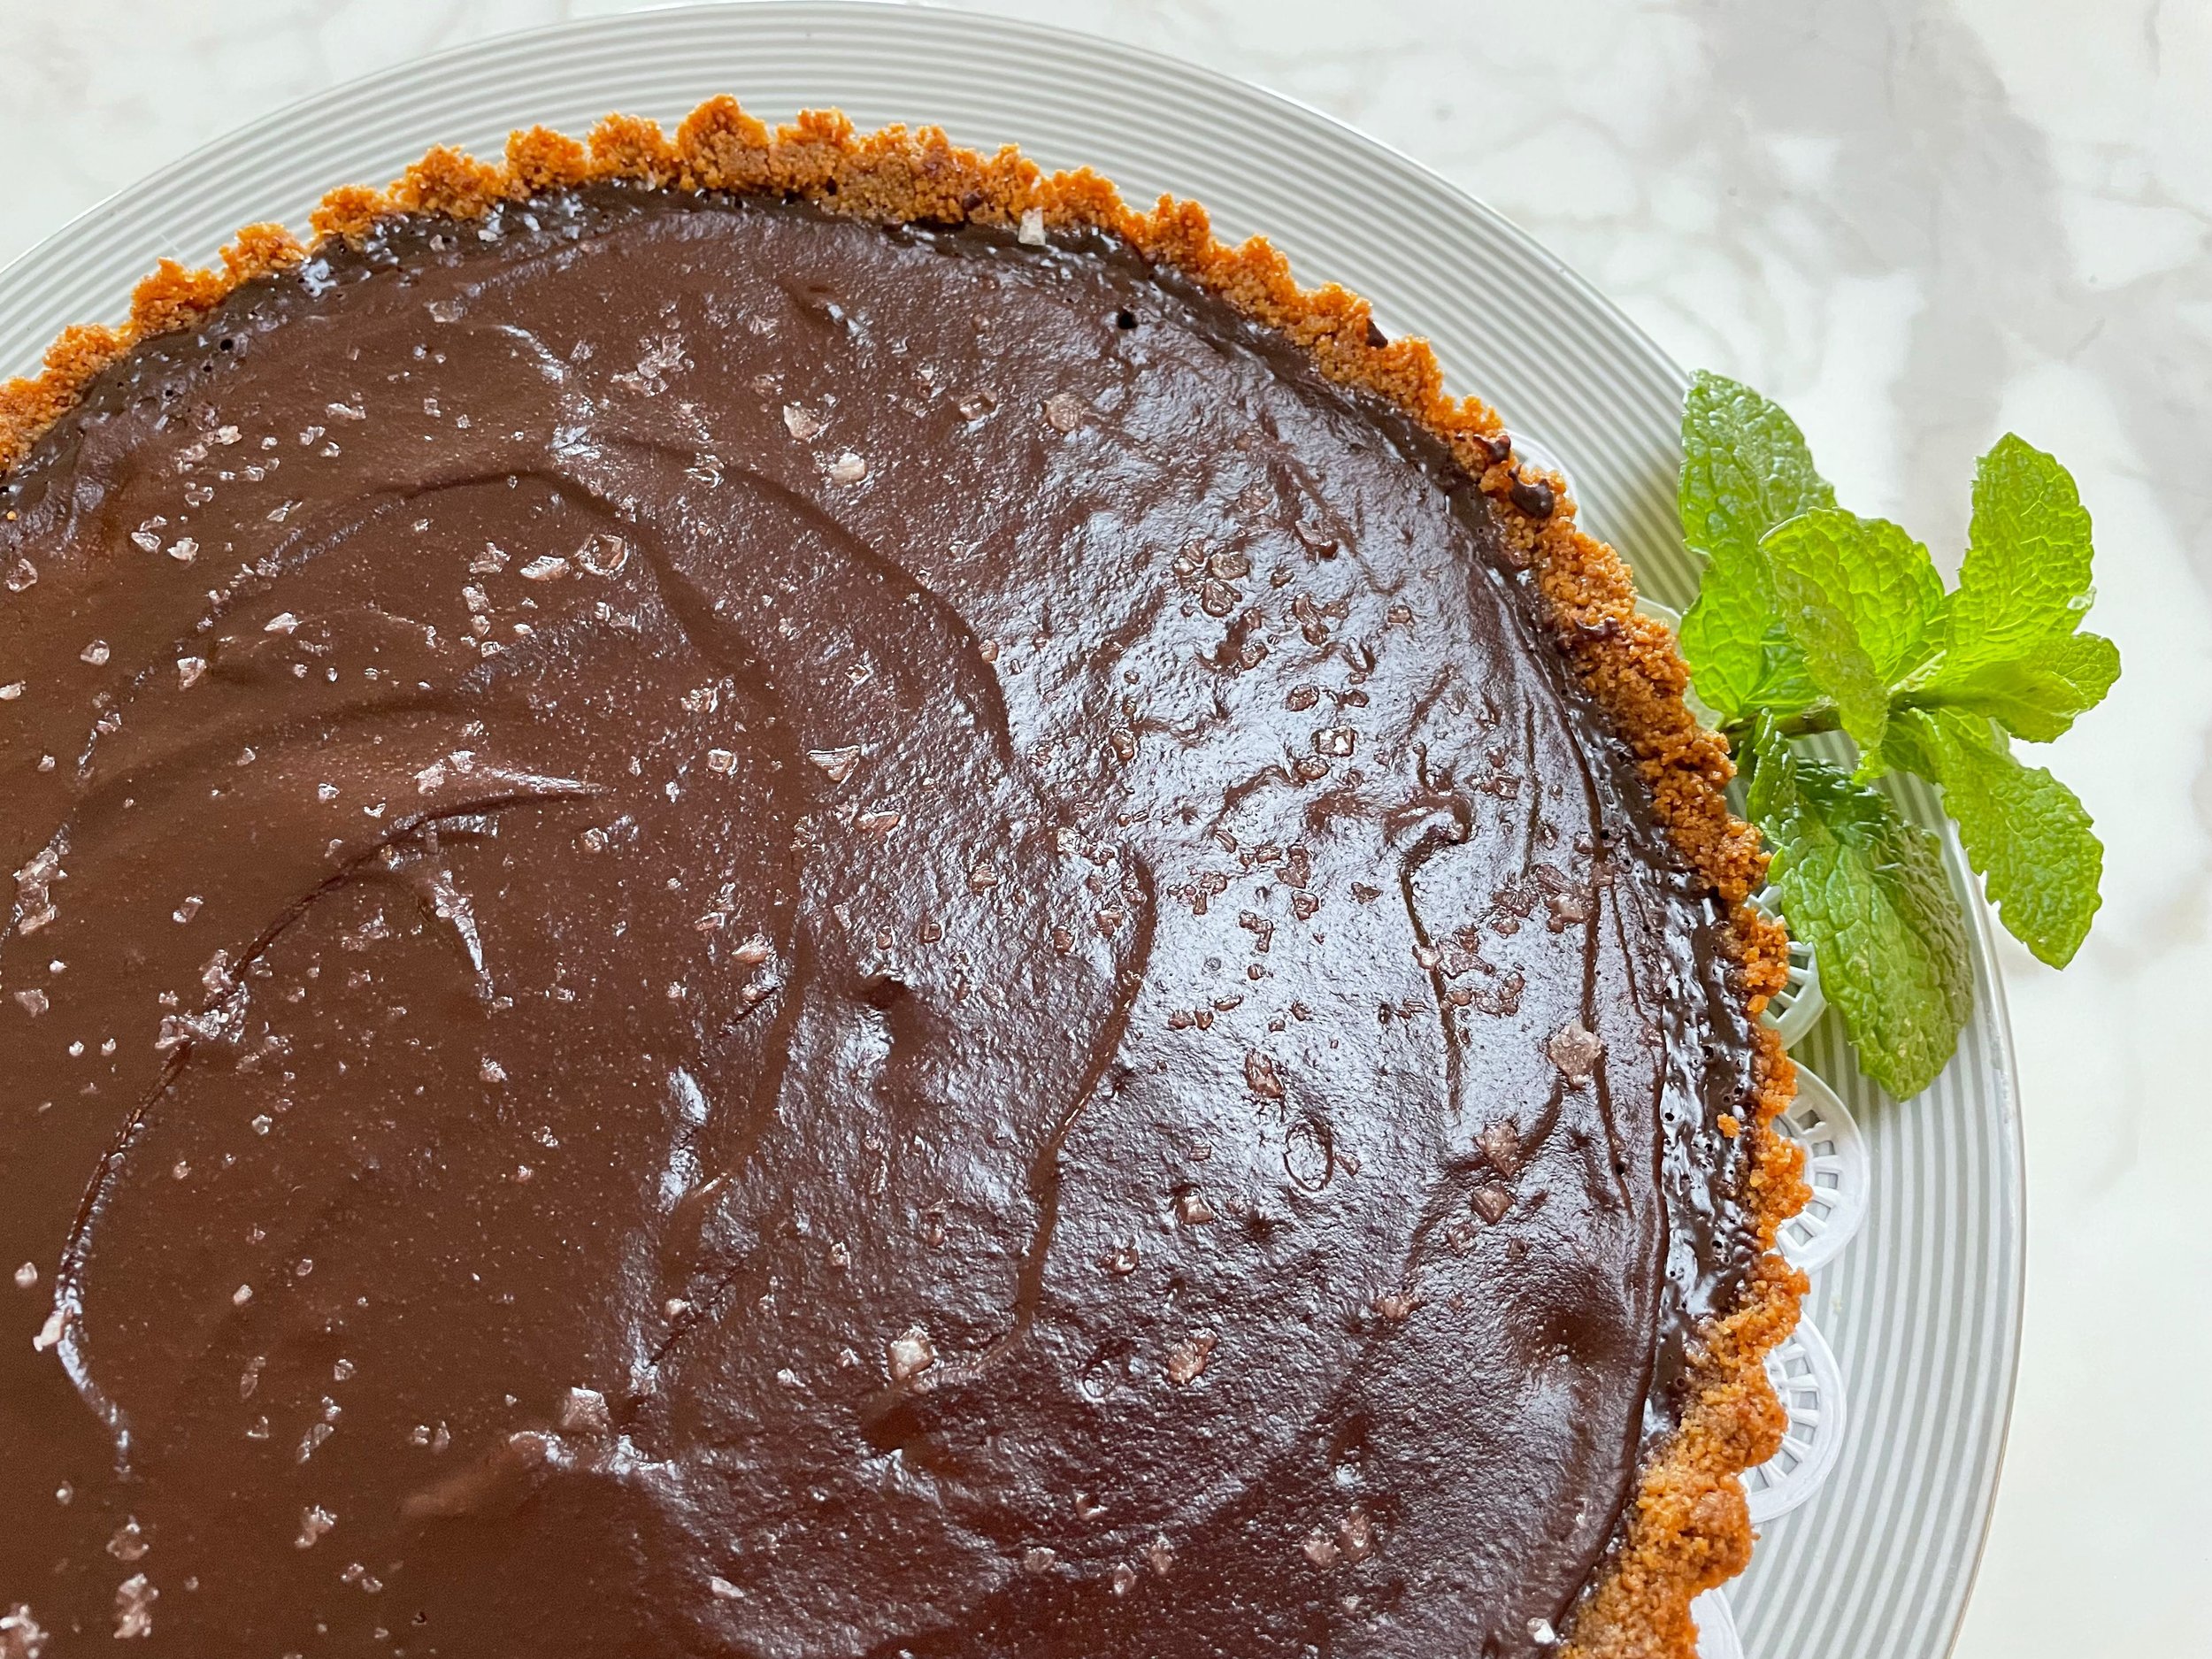
Dark Chocolate Tart

Show Mom the love by baking her this “Dark Chocolate Tart” for Mother’s Day! Easy to make, key is using the best bittersweet chocolate you can find. I use Guittard bittersweet chocolate (74% cacao) in bars.

This is Ina Garten’s recipe in her Go-To Dinners, inspired by Erin French’s The Lost Kitchen cookbook. I have lovingly adapted it a bit more. This recipe is a simple graham cracker crust with a chocolate mousse filling and a chocolate ganache topping glaze, lightly sprinkled with flaky sea salt, such as Maldon. For serving, garnish each serving with a sprig of fresh mint or a few raspberries. A truly luxurious chocolate dessert, perfect for Mom on her special day!

The recipe calls for Nabisco chocolate wafers, which are sometimes hard to find. I found at Trader Joe’s a 16-ounce package of cinnamon graham crackers (in their cookie section) that I substitute 9 ounces in for the crust, and it is a lovely addition. These cinnamon graham crackers grind well in a food processor.


Dark Chocolate Tart

  • For the crust:

  • 1 (9-ounce) box Nabisco chocolate wafers

  • ¼ cup sugar

  • 6 tablespoons unsalted butter, melted

  • For the filling:

  • 1 cup bittersweet chocolate, finely chopped (6½ ounces) (see note)

  • 1¼ cups heavy cream

  • 2 extra-large eggs, lightly beaten

  • 1 teaspoon pure vanilla extract

  • For the glaze:

  • ½ cup bittersweet chocolate, finely chopped (3 ounces)

  • ¼ cup heavy cream

  • ¼ teaspoon coffee granules

  • ½ teaspoon flaked sea salt, such as Maldon

Preheat the oven to 350 degrees.

Place the chocolate wafers and sugar in the bowl of a food processor fitted with the steel blade and process until finely ground. Pour the mixture into a bowl, add the butter, and mix until well incorporated. Press the mixture into the bottom and sides of a 9-inch tart pan with a removable bottom. Place on a sheet pan and bake for 10 minutes. Set aside.

Meanwhile, for the filing, place the 1 cup of chocolate in a medium glass bowl. Heat the cream until it just comes to a boil. Pour the cream over the chocolate, allow it to sit for 1 minute, then stir gently with a whisk until smooth (see note). Stir the eggs and vanilla into the chocolate until smooth and pour into the tart shell. Bake for 18 to 20 minutes, until the chocolate is set on the edges but still jiggly in the middle. Set aside to cool.

For the glaze, put the ½ cup chocolate and the coffee in a glass bowl. Heat the cream to simmering and pour it over the chocolate. Let sit for 1 minute, then whisk until smooth. Gently pour over the chocolate filling (not the crust) and spread to the inside edge of the crust with a knife or offset spatula. Sprinkle with the salt and set aside at room temperature until set. Remove the rim of the tart pan and place the tart on a flat serving plate. Cut in wedges (don’t worry if the crust crumbles) and serve at room temperature.

Notes:

If either chocolate & cream mixture doesn’t melt completely, heat in a microwave for 15 seconds.


Bon Appétit, Bon Weekend, and Happy Mother’s Day…Bonnie


Spring Cooking Class at Domaine de Manion
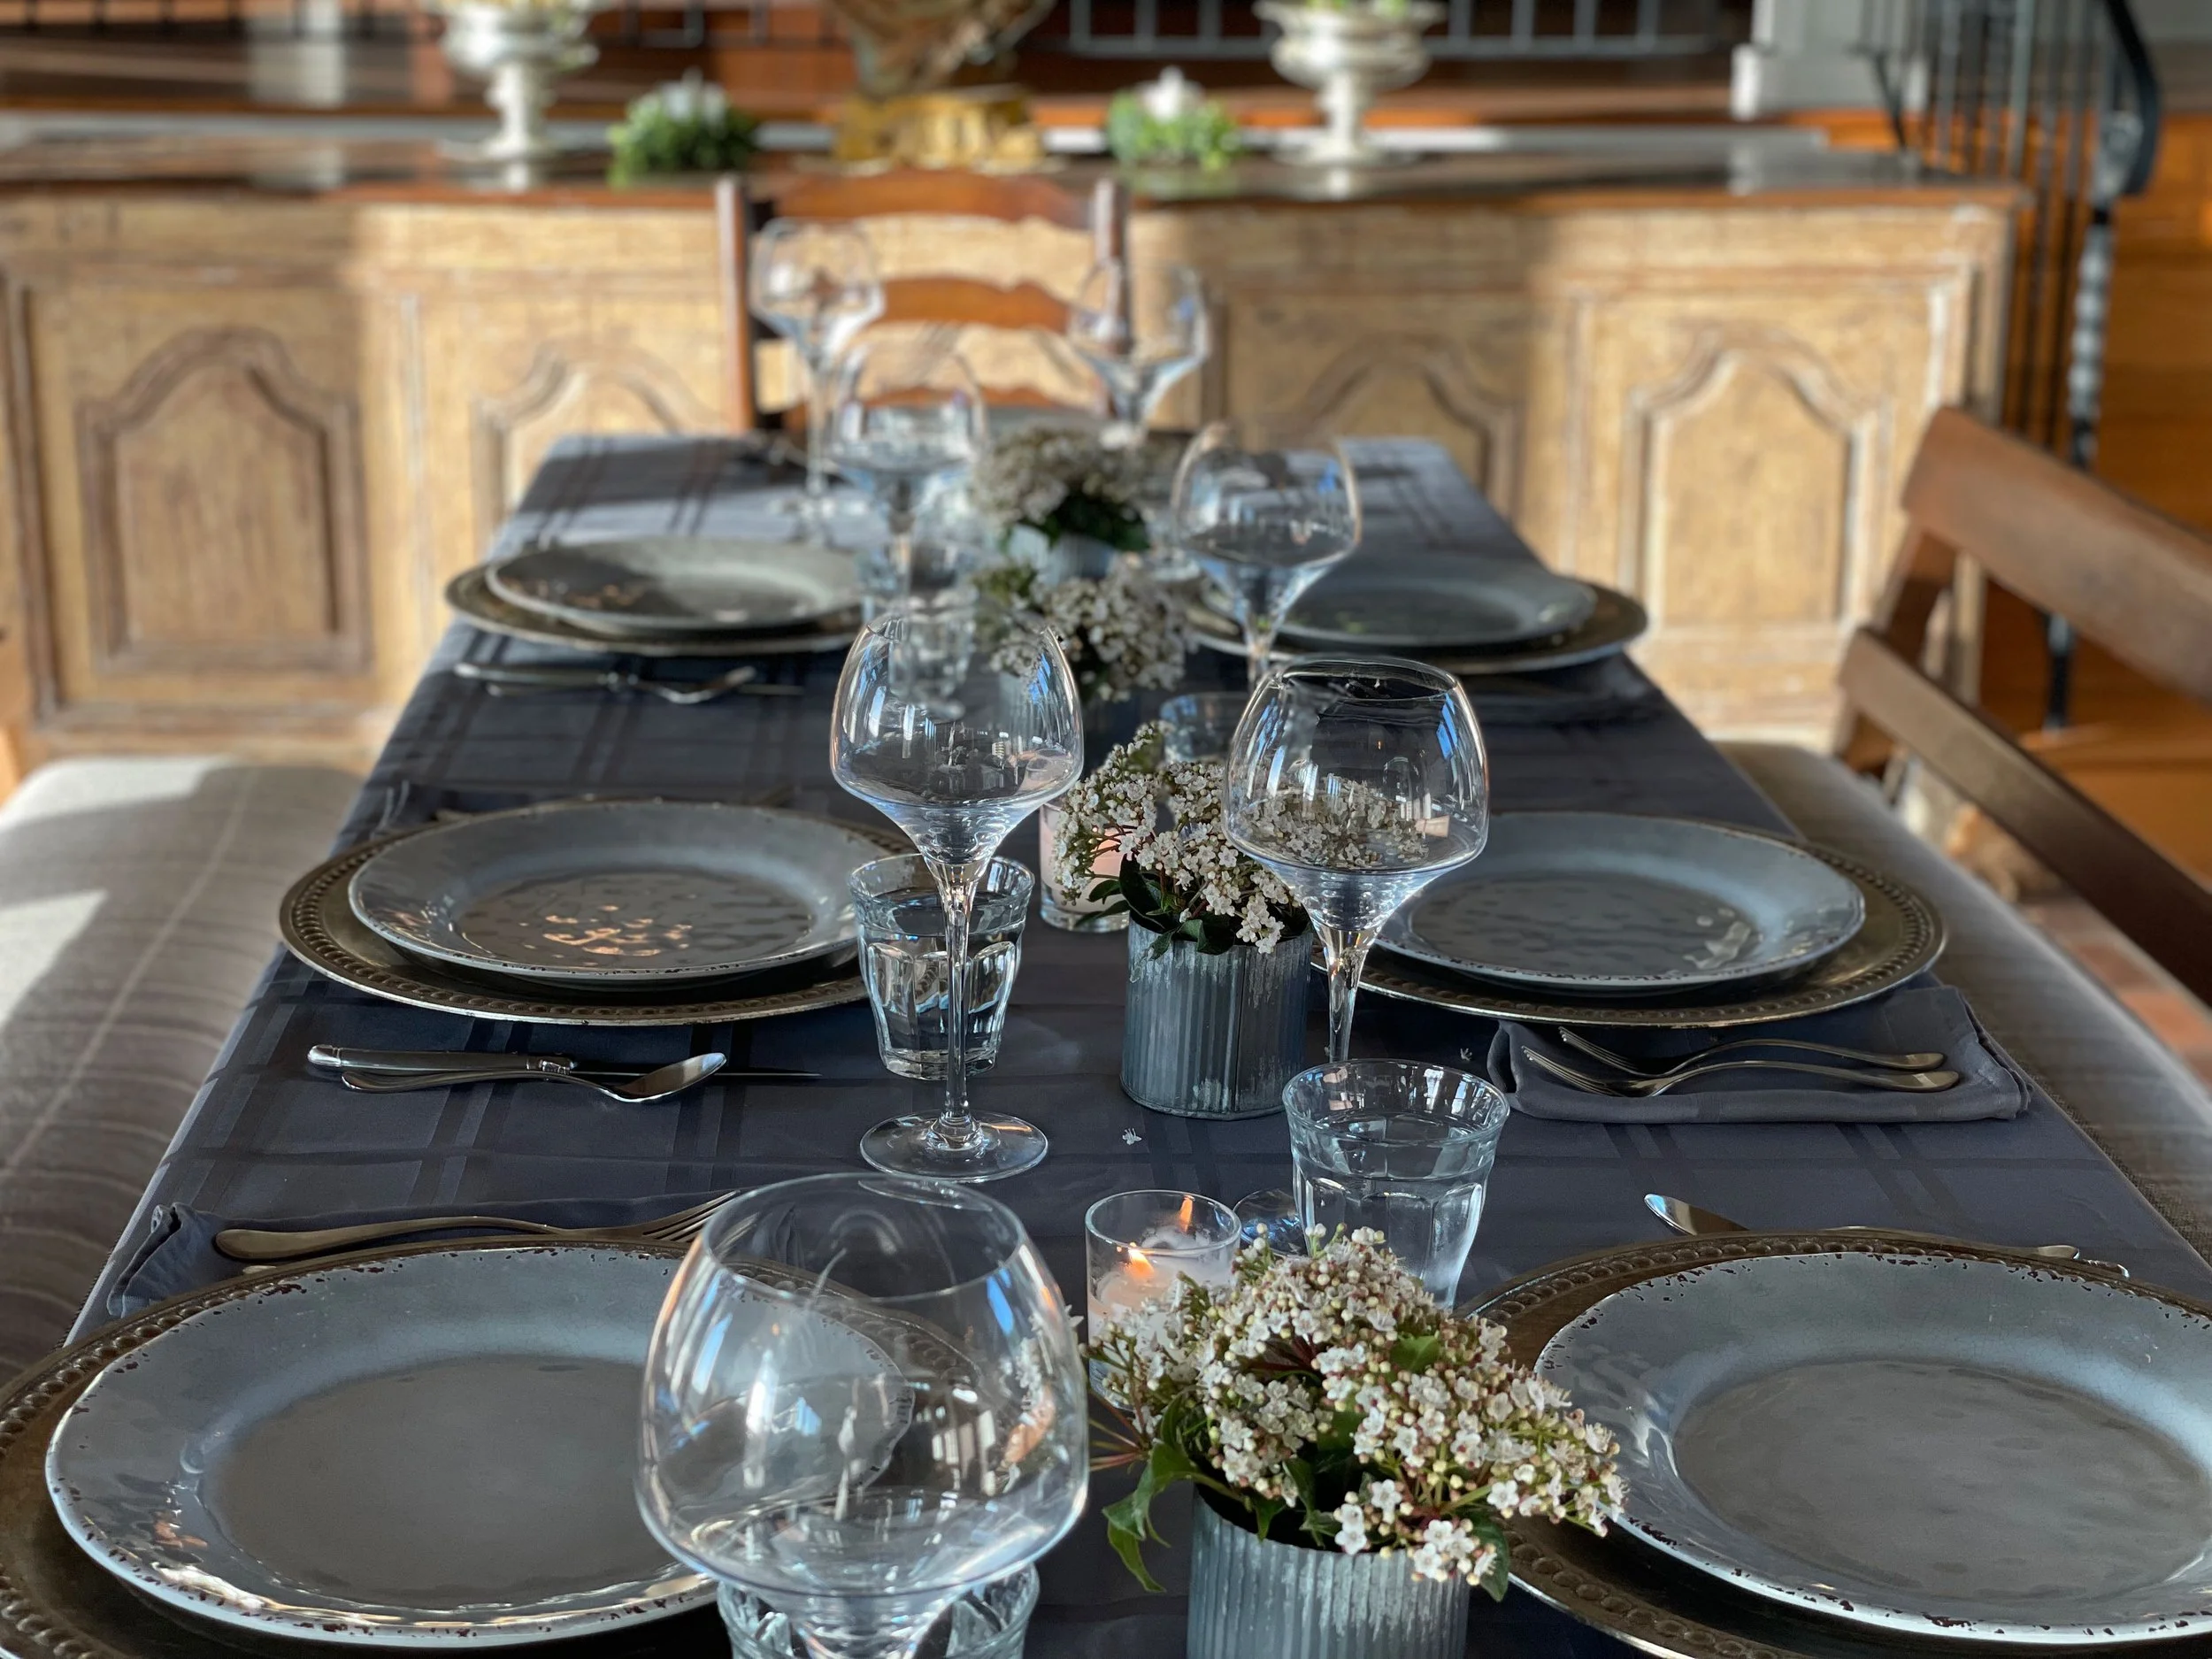
Dining Table at Domaine de Manion

Cook, Bake, and Celebrate Spring Flavors

Spring Cooking Class

Hosted at Domaine de Manion, Encinitas, California

Saturday, April 29, 2023 at 11am to 3pm

$195.00 per person

Class Size is Limited to First 8 Guests


Menu de Printemps

Lemon Tarragon Deviled Eggs

Spring Pea Salad with Mint, Chile, and Ricotta Salata

Lamb & Ricotta Meatballs

Rosemary Hummus

Mint Chutney

Carlton Bakery’s Lemon Tart


Carlton Bakery Lemon Tart

Carlton Bakery Lemon Tart


Contact

To Sign Up, and for Further Details

Please contact Bonnie, bonnie@vintagegardengal.com, (tel) (760) 402-7600

This cooking class is “hands on,” followed by a sit down luncheon, à table, enjoying the recipes we have made together. A minimum of 6 guests is necessary for the cooking class to be held. Seasonal menu can be subject to change and substitution.

A portion of your class fee will be donated to Chef José Andrés, World Central Kitchen, a non-governmental organization dedicated to worldwide humanitarian relief through food.


Bon Appétit et Bon Weekend….Bonnie


Dreamy Dinner Chez Nous

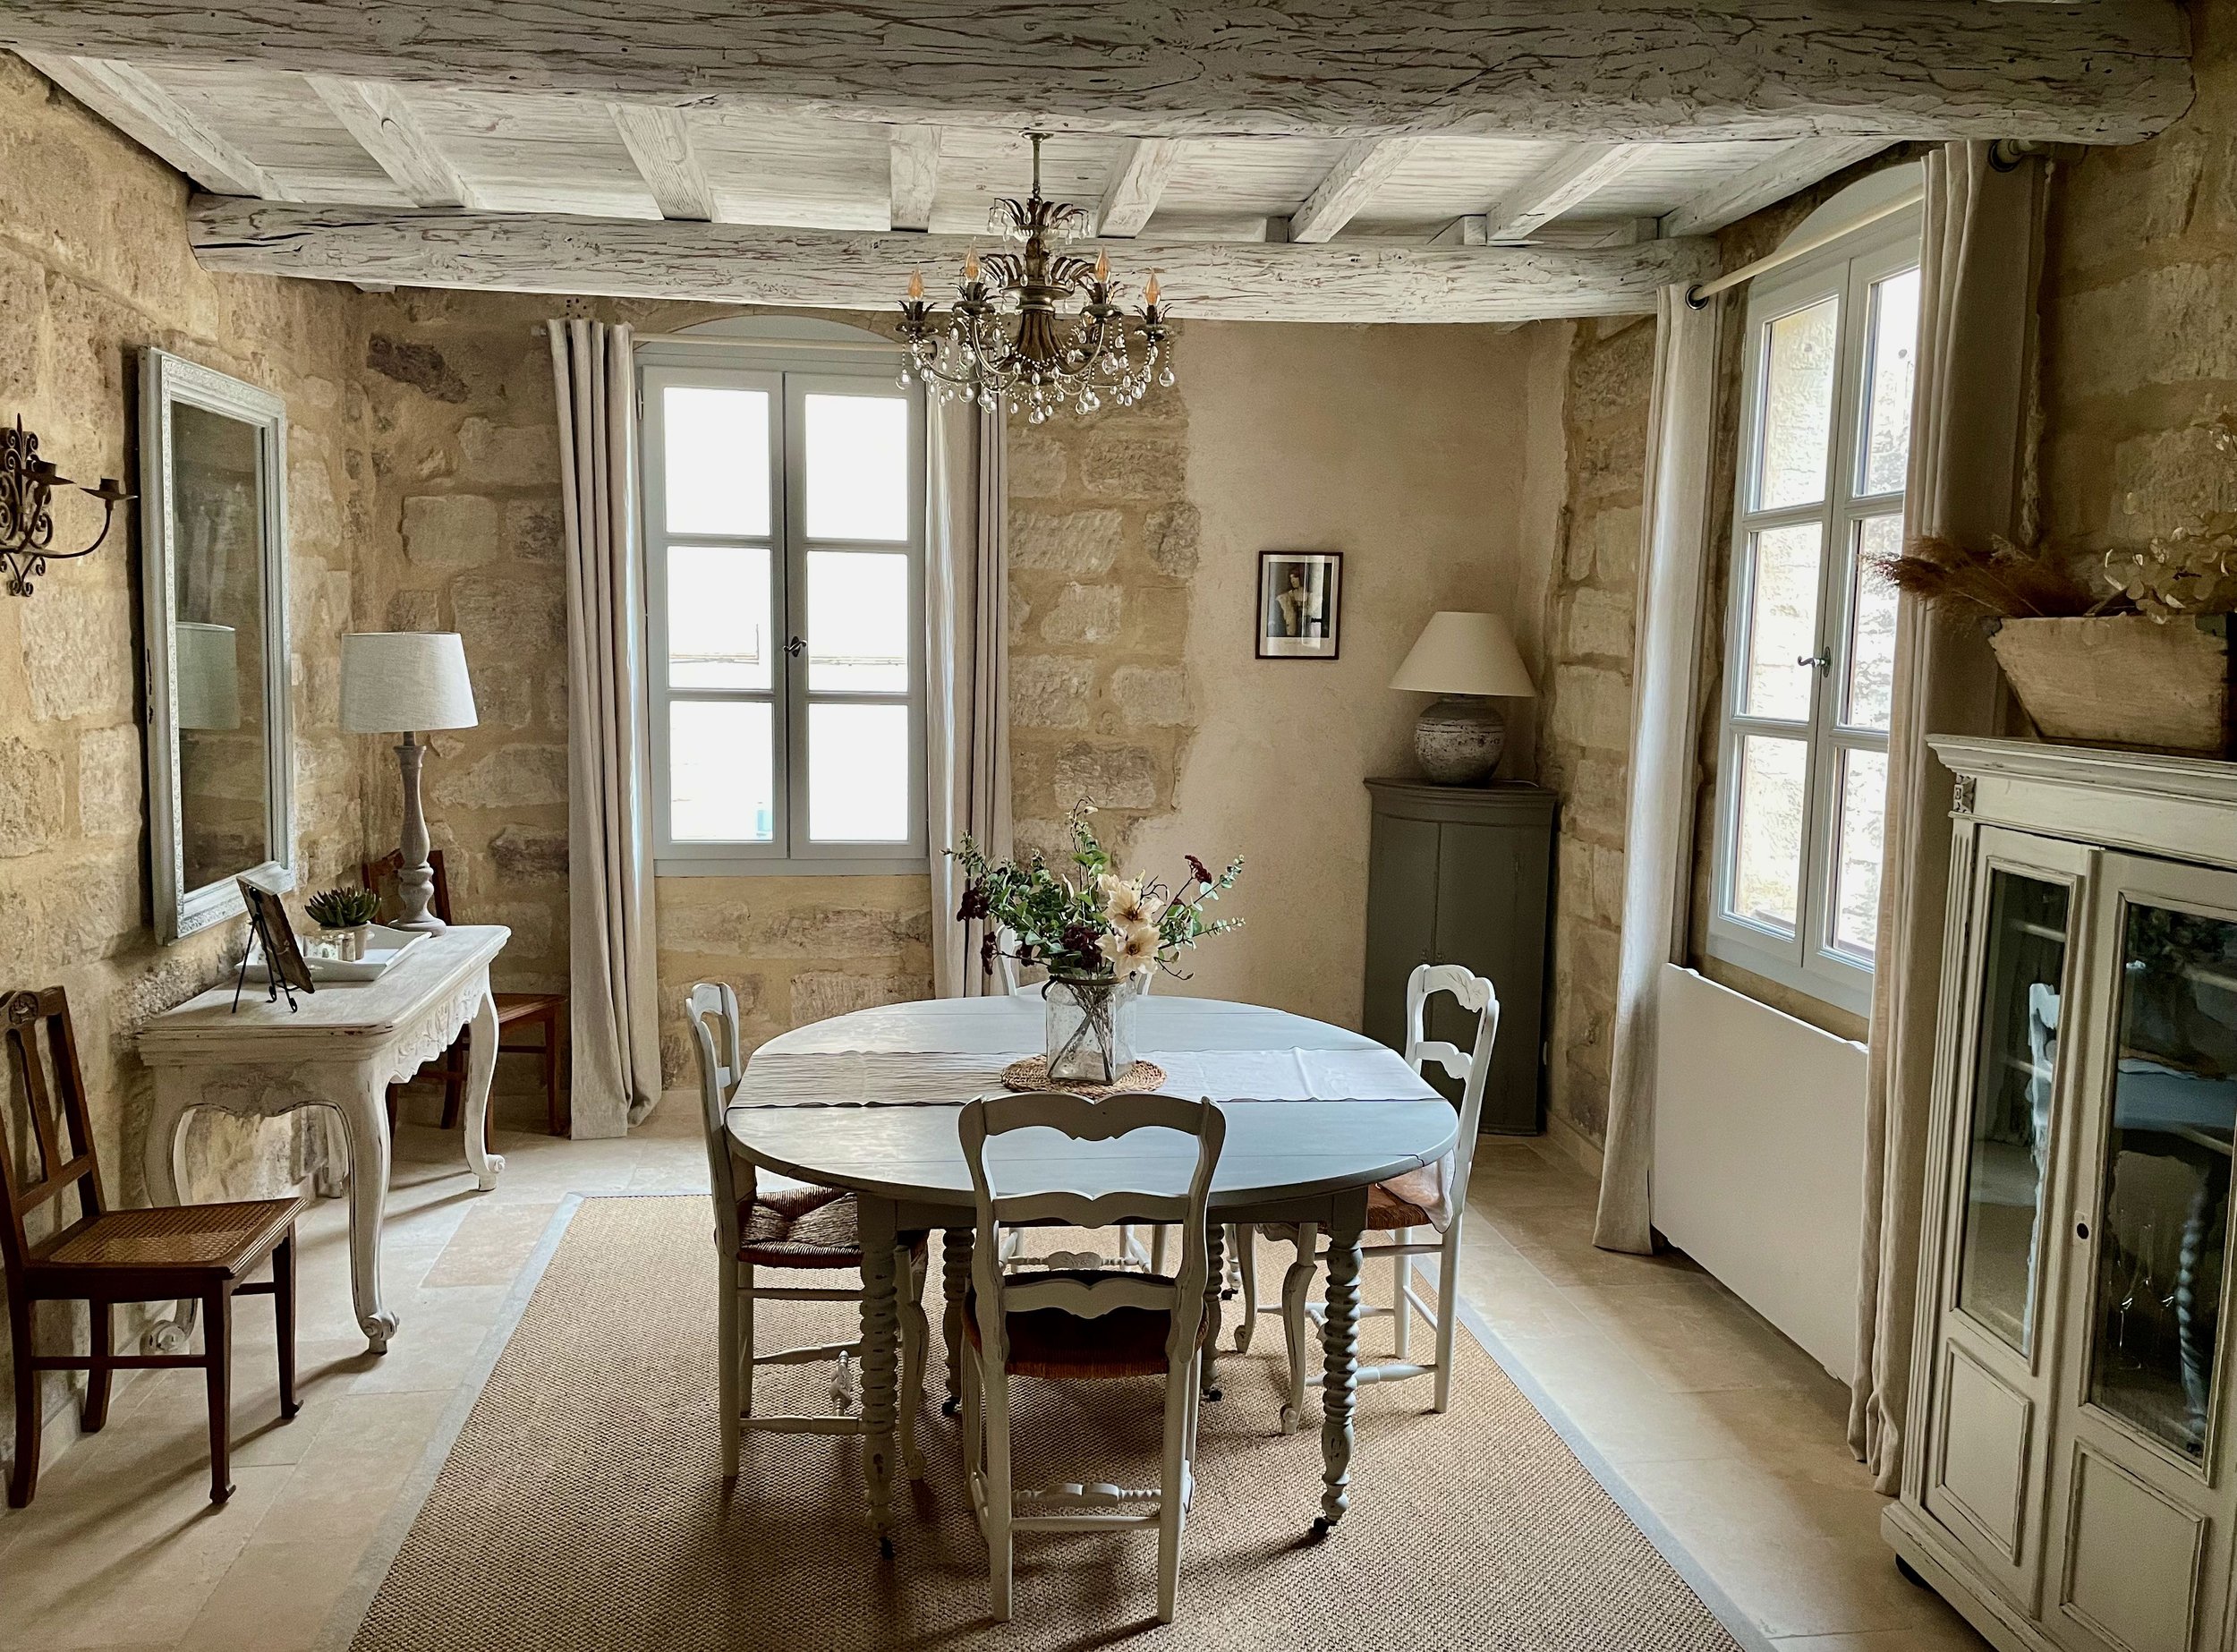
Dreamy Dining Room

My husband and I rented a beautiful two bedroom apartment in the historic center of Uzès, South France. This apartment is within walking distance of everything, so convenient, so relaxing, and so inviting. If you ever get a chance to visit this charming town, plan on staying a few days.

We found this stunning apartment on AirBnB, called C’est la Vie, managed by Dominique and Christophe Cachat. She is American, and he is French. Dominique loves remodel, decorating projects, brocante finds, and it shows. They offer a number of properties to rent in the area which can accommodate a number of guests. Their website is www.uzesvacationrentals.com

Dreamy Kitchen

The kitchen all on one side, and all in white, has everything, even a dishwasher. I must admit we ate out most evenings, at wonderful tiny restaurants, some which were recommended, and some we stumbled across.

Wednesdays and Saturdays are market days in Uzès. We went to the Wednesday morning market which is bustling, located in the town center under beautiful canopy trees called Place aux Herbs. We had fun browsing, and bought some beautiful vibrant red-ribbed tomatoes, olive oil, black olives, Camargue (the wild marshland natural region south of Arles) honey, and more. From the cheesemongers we bought fresh goat cheese medallions and aged Tomme sheep cheese.

Rainbow Swiss Chard at Uzès Wednesday Market

Rainbow Swiss Chard at Uzès Wednesday Market

Engaging in conversation with the chatty sheep cheesemonger, Monsieur Cheesemonger gave us this tub of his whipped sheep ricotta cheese as a gift. He wanted us to try it. He suggested it could go with sweet or savory. He said, “Have it for breakfast with fruit and honey, or in the evening with olive oil and herbs on a baguette.” Wow!

A Gift of Whipped Cheese Like Ricotta

A Gift of Whipped Sheep Ricotta Cheese

I thought for a while, what could I make with this whipped sheep ricotta as a dinner. What came to me was a pasta dish inspired by Half Baked Harvest One Pot Recipes, a sort of loose combination of these two recipes,

One Pot Spinach and Sun-Dried Tomato Burrata Pasta and One Pot Sun-Dried Tomato Pasta with Whipped Ricotta. I had mades these recipes before, and was inspired to do something similar with the ingredients I had. I didn’t have sun-dried tomatoes, but I had wonderful fresh market tomatoes.

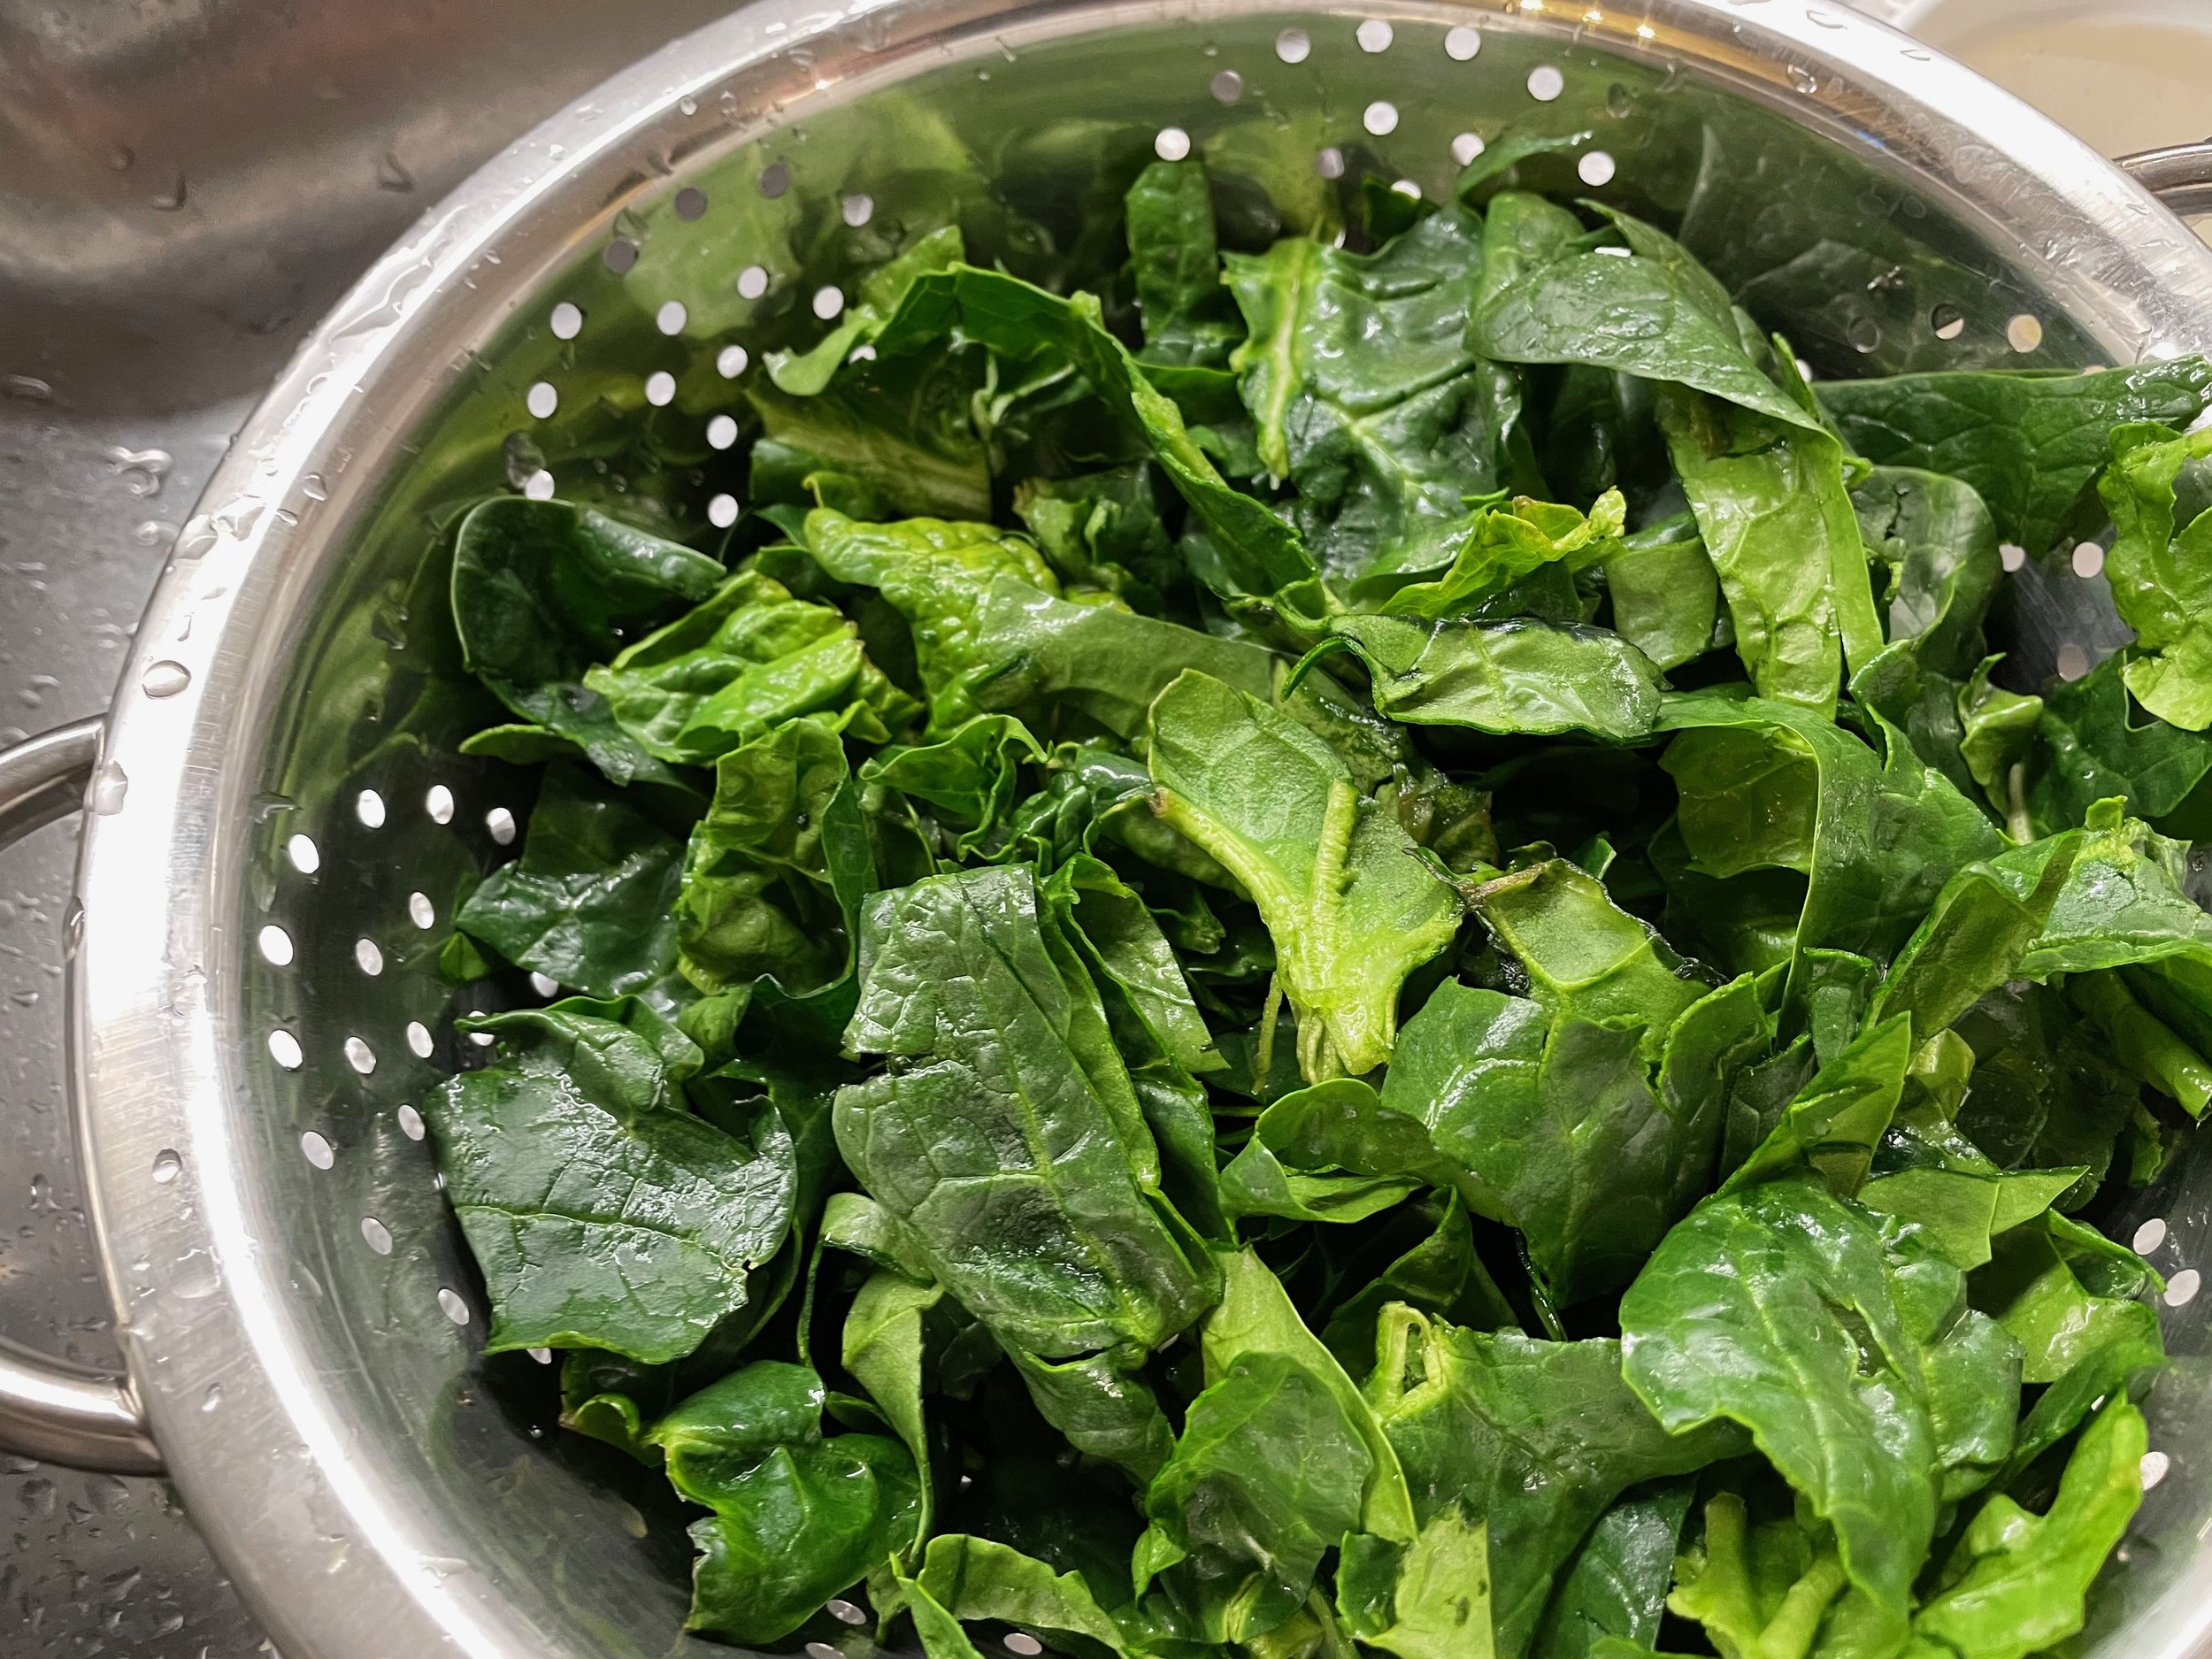
Washed Spinach Ready for Sauce

Fresh Spinach Washed, Dried and Cut Up

I prepared the lovely fresh spinach, rinsing, drying, and cutting it up. I added a little Basil Olive Oil to a large pot, and began warming it.

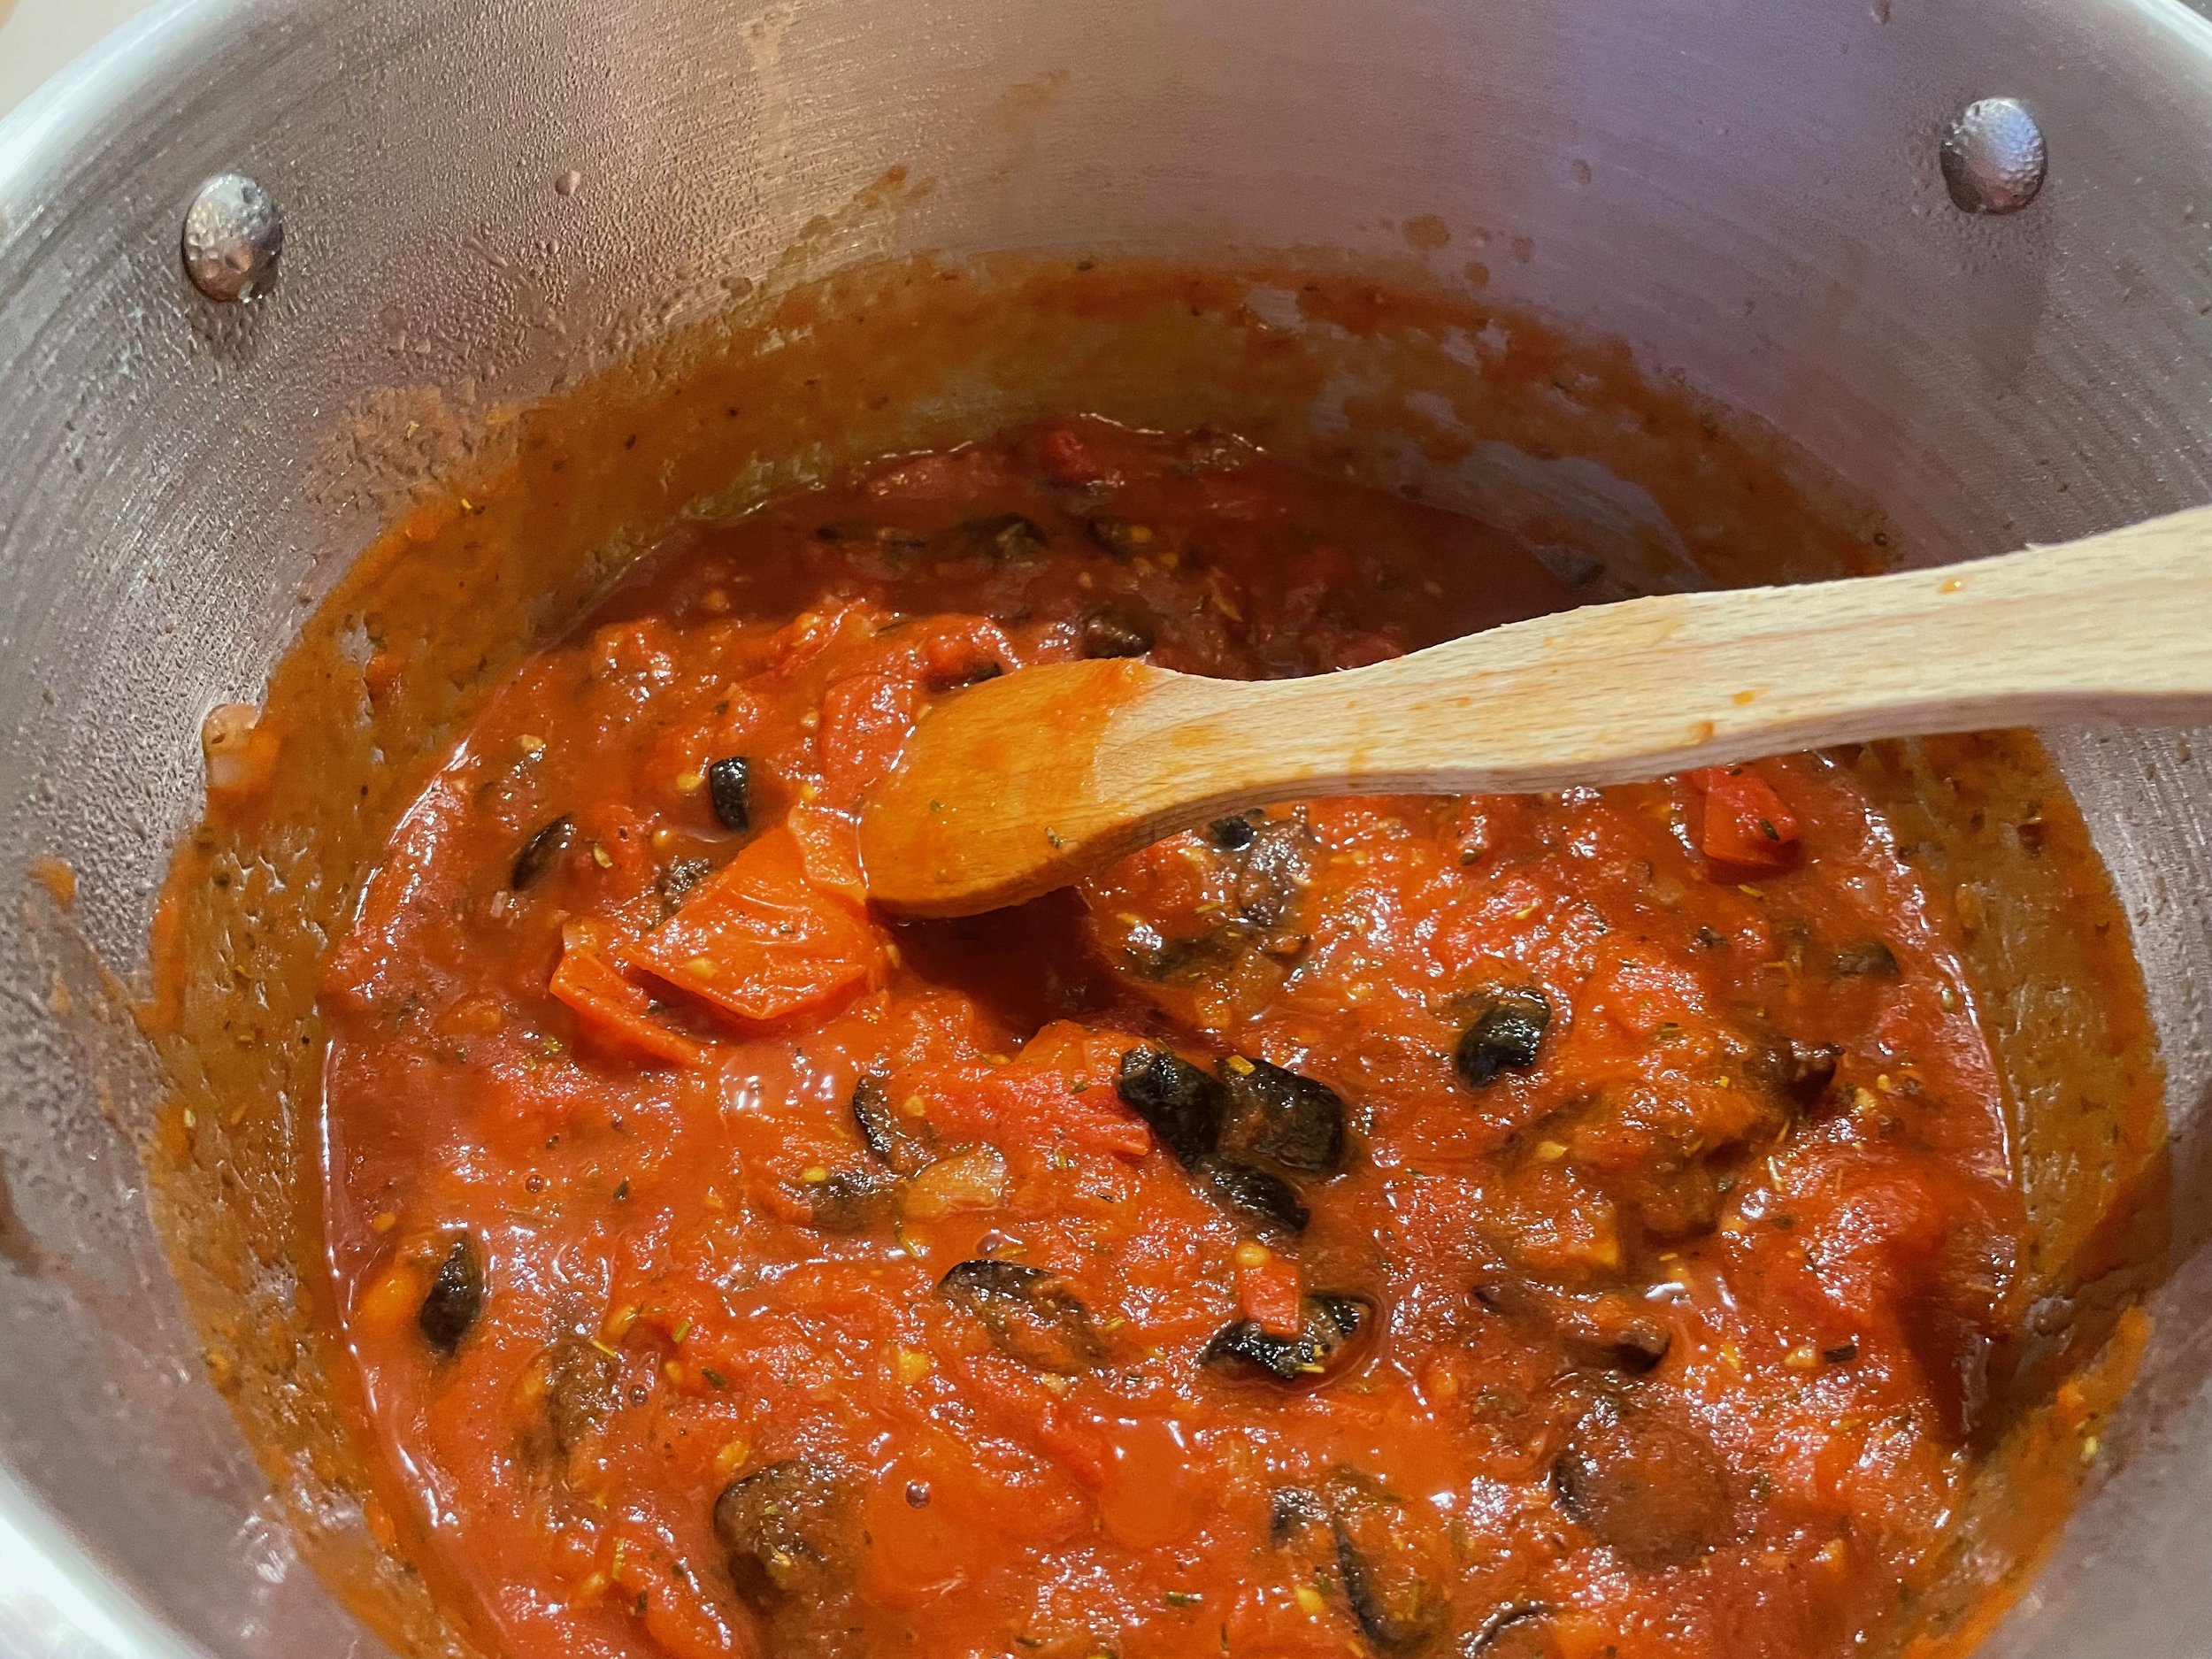
Finely chopped a shallot and sauteed it in the pan. I then added my beautiful market tomatoes ( I wished I had bought more), a couple of tablespoons of rich tomato paste, a tablespoon of balsamic vinegar, chopped black olives, sea salt, and freshly ground pepper. The tomatoes began to break down, and a nice sauce started.

Making the Tomato Sauce

Making Tomato Sauce with Black Olives

When I felt the tomato sauce was ready for the last ingredients, I added 8 ounces of shelled dry pasta, all of the spinach, and about 4 cups of water to the same pot, gently stirring on a medium low heat.

Adding Pasta, Water, and Spinach to the Sauce

Adding Pasta, Water, and Spinach to the Sauce

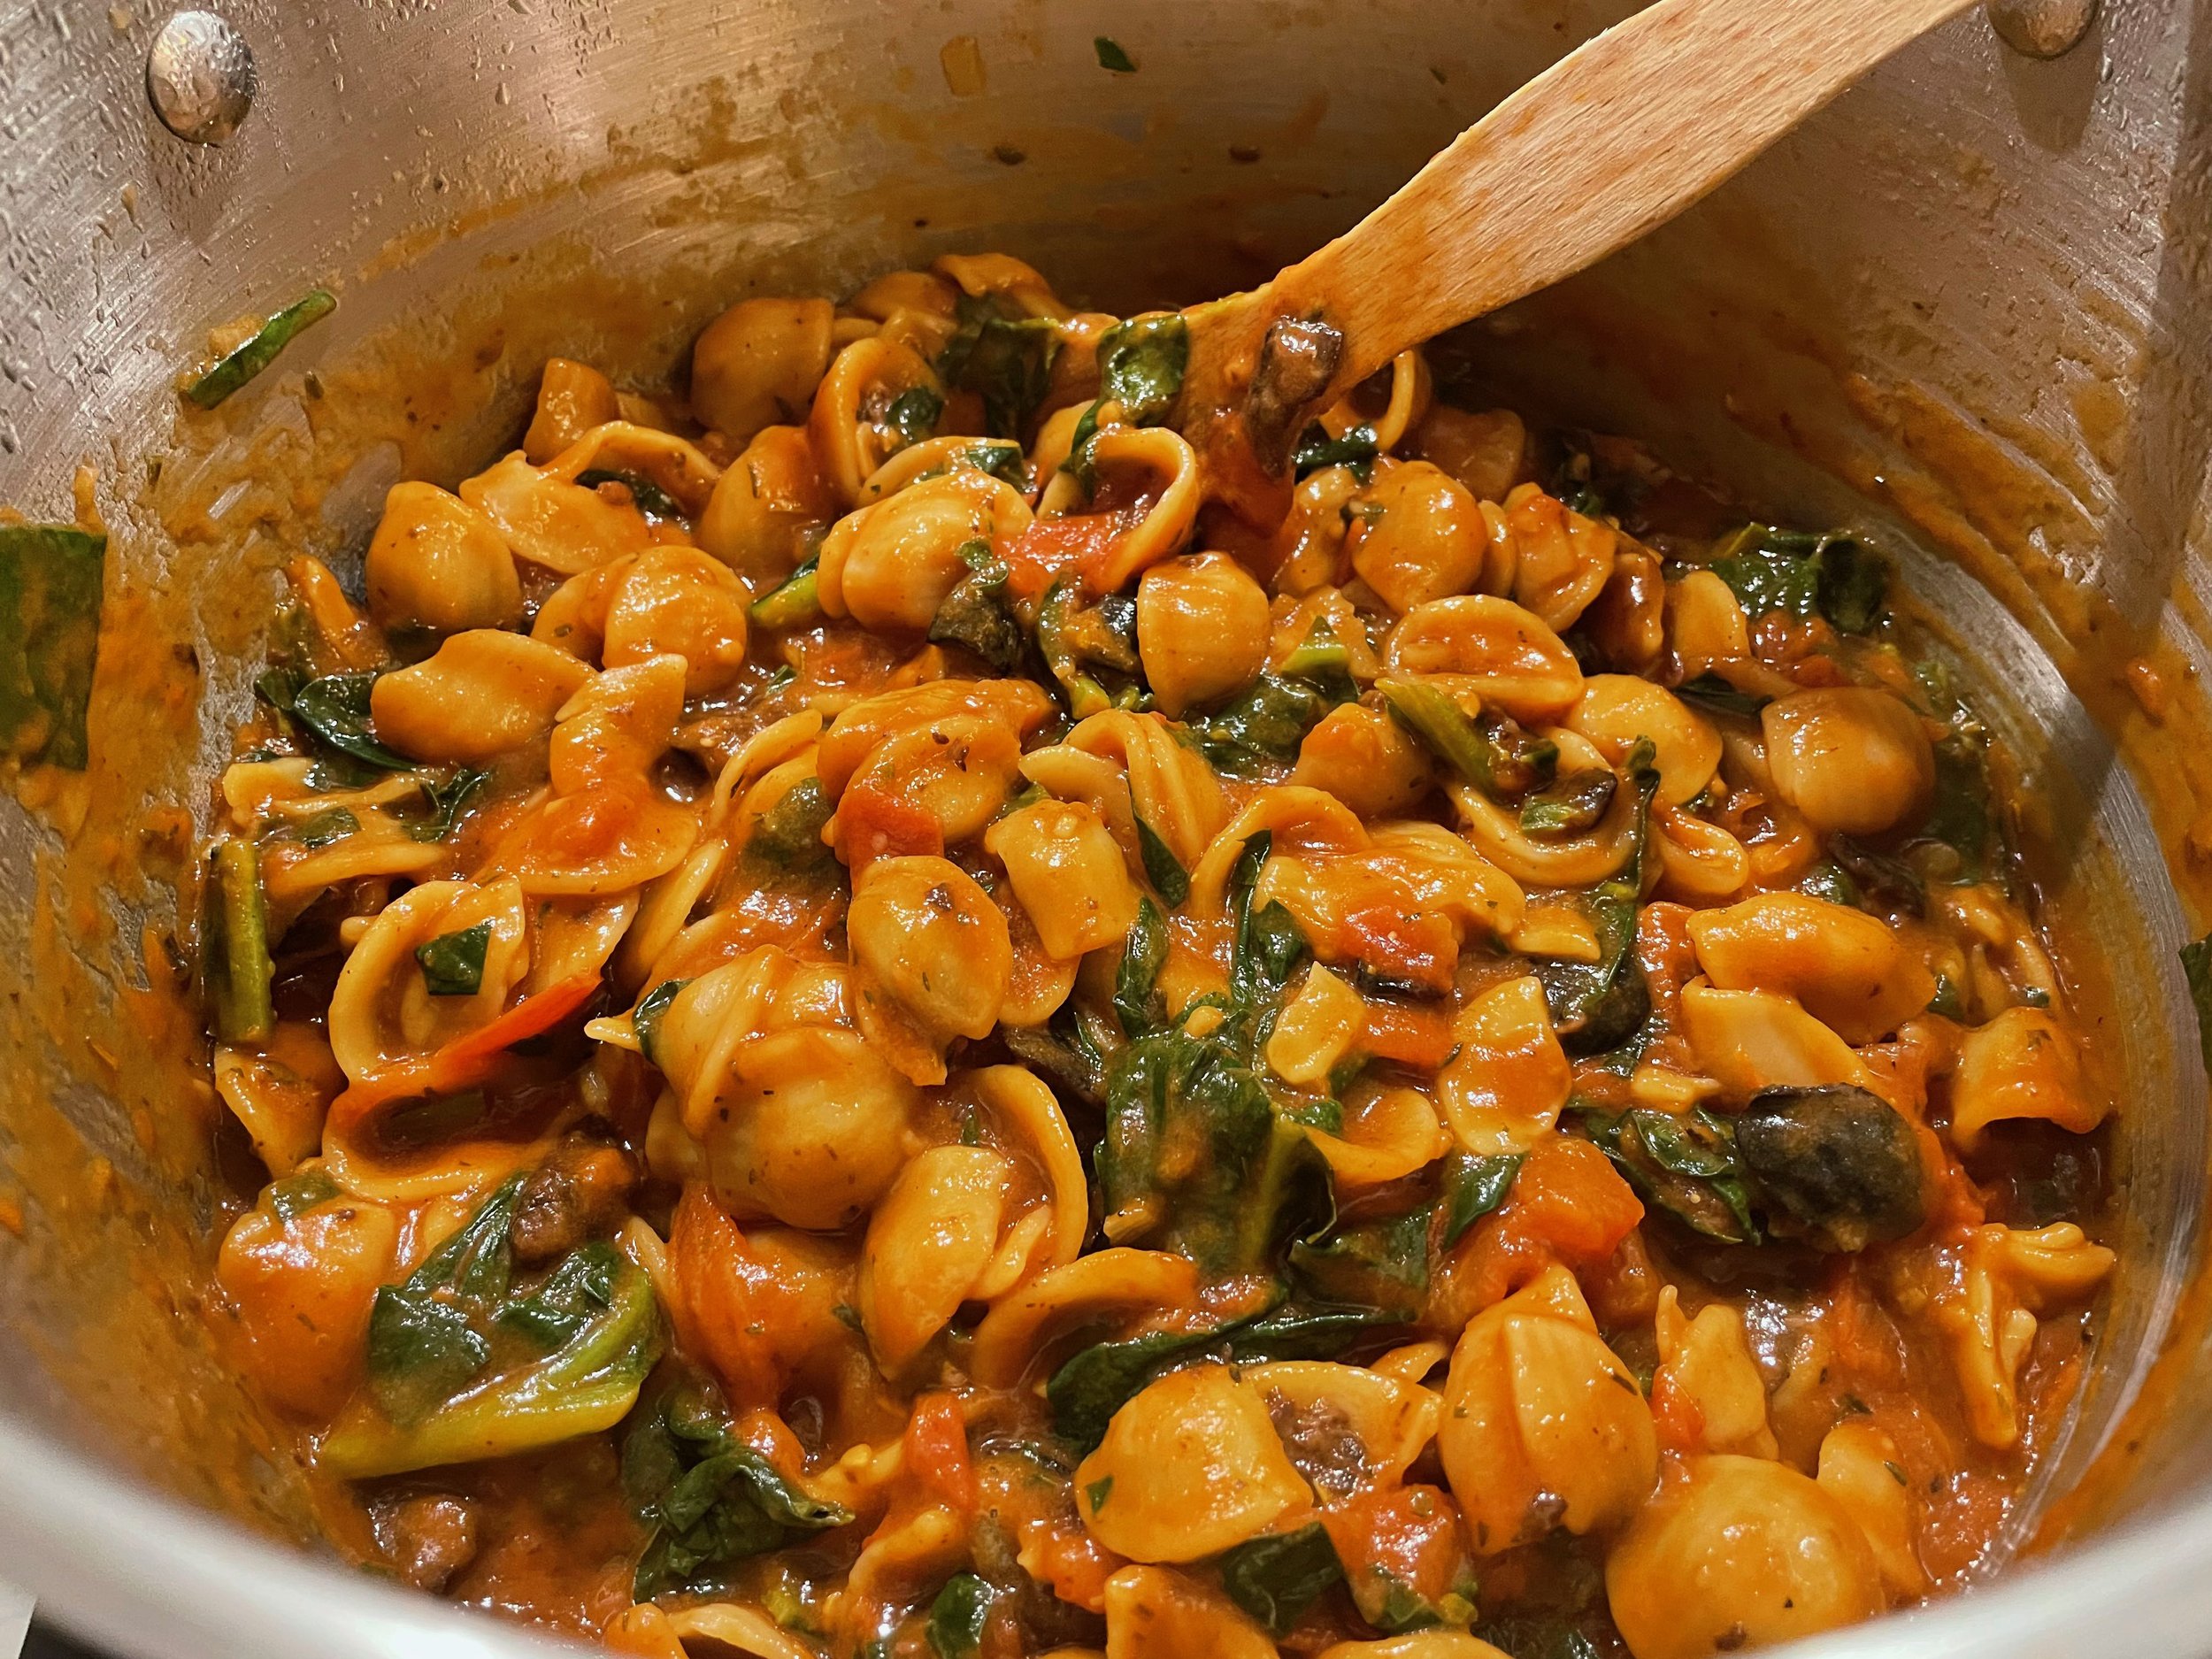
Ten minutes or so later, the pasta had absorbed all of the water, and also the beautiful tomato sauce. It was a nice, creamy texture. Since I thought this sheep ricotta cheese was so fresh, and so special, I used it as a topping on the pasta, being very generous with a big dollop, rather than mixing it in with the tomato pasta. I think that was a good idea, because I didn’t want to take away the fresh flavors of the sauce.

One Pot Pasta with Spinach and Whipped Sheep Ricotta

One Pot Tomato Pasta with Spinach and Whipped Sheep Ricotta

We had a baguette to serve with our pasta dish, so one could also put the whipped ricotta on the baguette too. My one pot pasta dish turned out beautifully. It was a wonderful relaxing evening in with a delicious dinner and a nice bottle of wine.

I didn’t even mention the wine. Since we are winemakers, we always like to explore the wines of the area when we travel. The wine in this area is very, very good, and quite reasonable. Many of these wines are made with the Syrah, Grenache, Mourvèdre grape varietals. We befriended the local savvy wine merchant, who suggested a few local bottles for us to try. Chin! Chin!

à Table, Chin Chin, et Bon Appétit

à Table, Chin Chin, et Bon Appétit!

Not to forget dessert. The French really have some amazing desserts and pastries to tempt you. Earlier in the day, we stopped at our favorite boulangeries/pâtisserie and picked up a Lemon Meringue Tart for dessert. Heaven. I hope you enjoyed, Dreamy Dinner Chez Nous!

Splitting a Lemon Meringue Tart for Dessert

Splitting a Lemon Meringue Tart for Dessert

Bon Appétit et Bon Weekend…Bonnie

Vanilla Lavender Canelés

Hosting a Holiday Tea A Few Years Ago

A few years ago I hosted a Holiday Tea for one of my dear garden clubs. The menu was based on 13 Desserts, a South French holiday tradition (Les treize desserts de Noël). One of the star desserts I made was Vanilla Lavender Canelés, one of the most elegant of French pastries and surprisingly easy to make. I remember how delicate these pastries tasted due to the steeping of milk, butter, vanilla bean, and culinary lavender. A delicious nod to Provence and the South France.

Please Note: You will need to have canelé molds, available on line, to make this recipe. It is important to use culinary lavender such as Provence lavender.


Vanilla Lavender Canelés

Recipe by Chelsea Zimmer

Lovingly Adapted from Sweet Paul magazine, Winter 2013


Ingredients:

 2 cups milk

4 tablespoons unsalted butter, plus more for molds

1 vanilla bean, scraped

1 Tbsp dried culinary lavender

½ cup, plus 1 Tbsp flour

2 cups sugar

¼ tsp salt

2 eggs

2 egg yolks

1 Tbsp whiskey

2 cannelé molds (twelve molds to a pan)


Directions:

In a medium pot, bring milk, butter, vanilla bean, and lavender to boil.  Remove from the heat and let steep for 10 minutes.  Meanwhile, in a large bowl whisk the flour, sugar, salt, and eggs.  Strain the warm milk mixture, slowly whisking it into the flour mixture.  Stir in the whiskey.  Let this cool in the fridge until chilled, about an hour. If you want to speed up the chilling process, set your bowl over an ice bath and stir occasionally for 20 minutes.


Preheat the oven to 500 degrees F.  Place 2 cannelé molds on a large baking sheet and lightly brush them with melted butter. Pour the batter 2/3 of the way up each mold. Bake for 5 minutes.  Lower the oven to 375 degrees F. and continue baking for 1 hour until your canelés are golden brown. Turn out onto wire racks while hot and cool to room temperature. Makes 30.

 
Copper Canelé Molds

There Are Various Canelé Molds—Even Copper

The holidays are a great time to bake different specialty desserts and cookies from other countries besides French Canelés, such as Austria’s Linzters, Italy’s Biscotti, and Mexican Wedding Cakes. Be adventurous, they just might become a new tradition for your family.

Bon Appétit et Bon Weekend….Bonnie

Easy Breezy Macaroons
Golden Macaroons Dipped in Chocolate, French Country Living

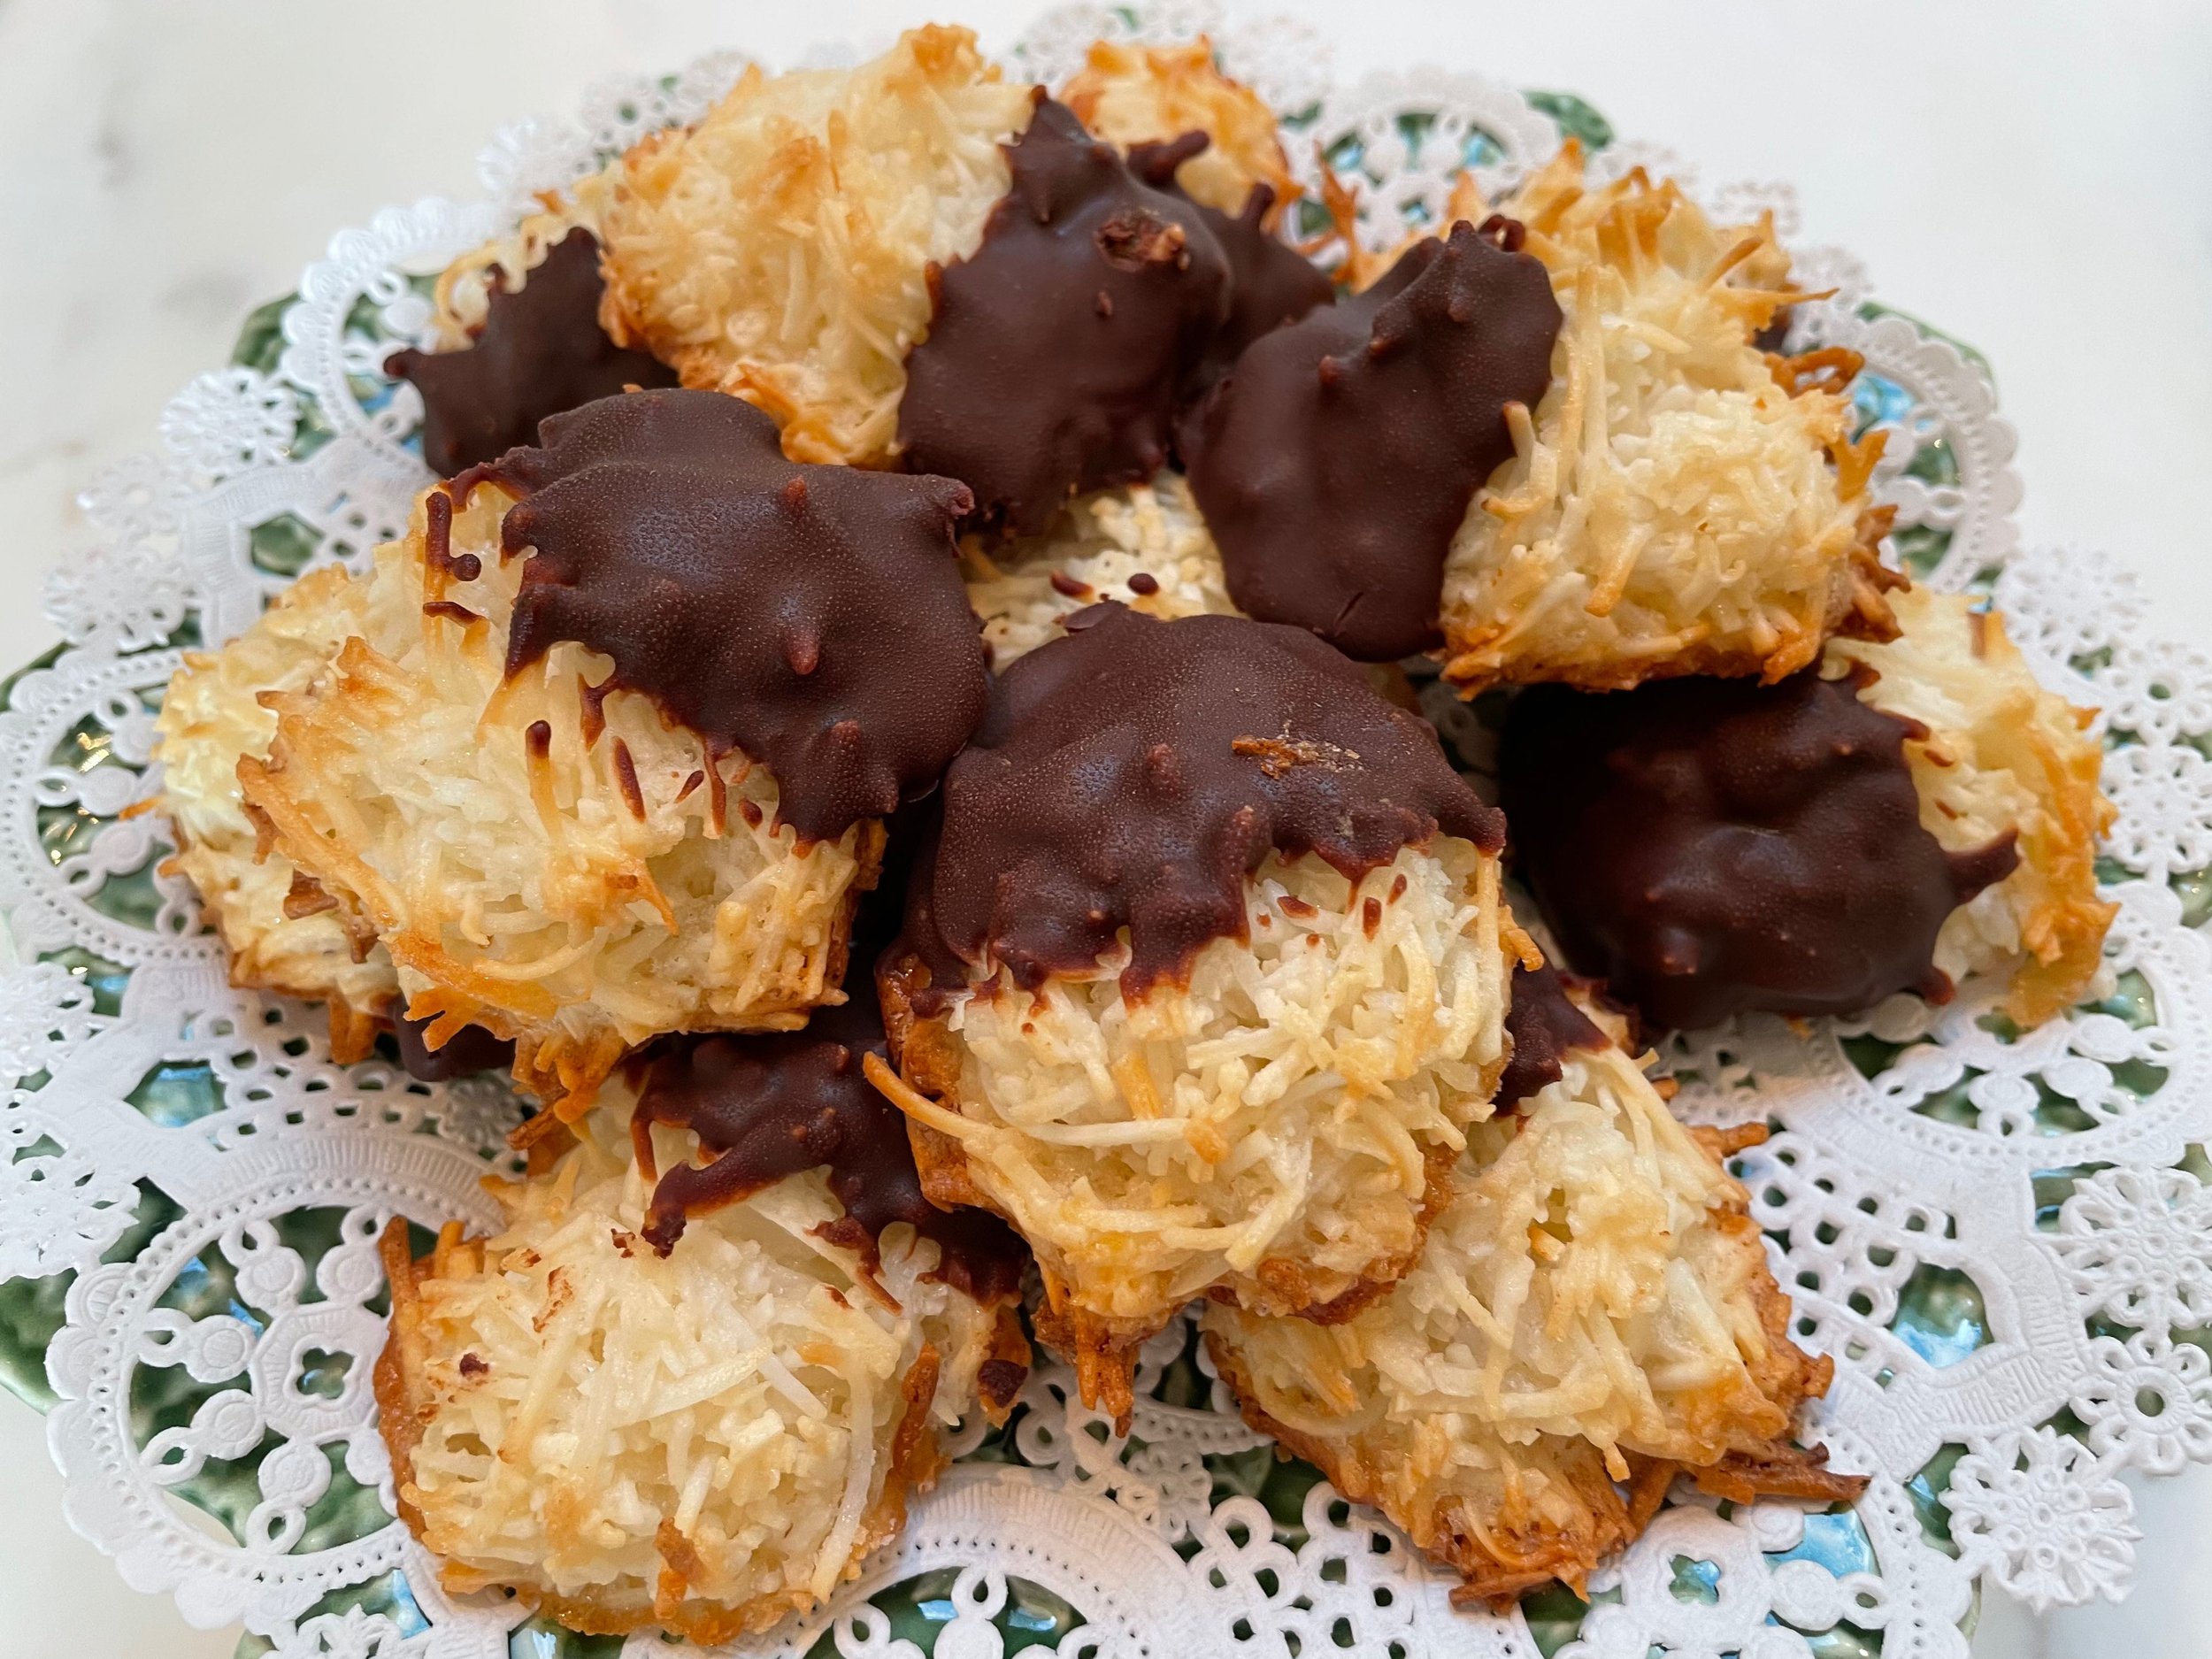
Golden Macaroons Dipped in Chocolate Setting

This is another great recipe I have gotten from my Mom. She saw it originally in the April 2001, Better Homes and Gardens magazine. It is not a French Macaron recipe. It is a Golden Macaroon recipe with an option to dip in semisweet chocolate after baking. Not quite a cookie, and not quite a candy, it is a delight for coconut lovers!

The secret to this recipe is using two kinds of coconut — a regular flaked, sweetened coconut and an unsweetened, finely shredded coconut, held together with a touch of honey that creates a golden color when baked. This recipe yields 3 to 4 dozen macaroon, depending on your drop batter size.


Golden Macaroons

Lovingly Adapted from Better Homes and Gardens

Prep/Chill: 35 minutes Bake: 17 minutes

Ingredients:

2-1/2 cups flaked sweetened coconut (about 7 ounces)

2 cups unsweetened finely shredded coconut

1 cup sugar

3 Tablespoons all-purpose flour

1/4 teaspoon salt

4 egg whites

1 Tablespoon honey

1 teaspoon vanilla


Directions:

1) In a large bowl combine flaked and shredded coconut until evenly mixed. Flaked coconut should be broken into separate flakes and with very small clumps present.

2) In a medium mixing bowl combine sugar, flour, and salt. Add the egg whites, honey, and vanilla. Whisk rapidly until smooth. Pour sugar and egg white mixture over coconut mixture. Stir first with a wooden spoon, then use your hands and continue to blend until evenly mixed. Cover with plastic wrap; chill for 30 minutes.

3) Preheat oven to 300 degrees F. Line a large cookie sheet with baking parchment paper. Drop rounded tablespoons of macaroon batter onto the cookie sheet about 2” apart. (I actually use a small ice cream scoop for consistency.) You will probably need a second baking sheet, or fill your original a second time after baking your first macaroons.

4) Gently pinch mounds of macaroon together before baking. Bake for 17 to 19 minutes, or until golden brown. Remove from oven. Let cool on a cooling rack.

5) If you are interested in using dipping chocolate for your macaroons: 1) in a small saucepan, heat 3/4 cup heavy cream to near boiling; remove from heat. Add 6 ounces of your favorite chopped semisweet chocolate (do not use chocolate chips). Let stand for 5 minutes, then whisk until smooth. Cool completely, or to your desired consistency for dipping. Dip one side of your cooled macaroon into your chocolate mixture, and return it back to the parchment paper to further cool and set. Enjoy!

Chocolate Dipped Macaroons, French Country Living

Chocolate Dipped Macaroons Ready to Serve

Bon Appétit et Bon Weekend…Bonnie


Hummingbird Cake Cult Following
Hummingbird Cake and Hydrangeas, French Country Living

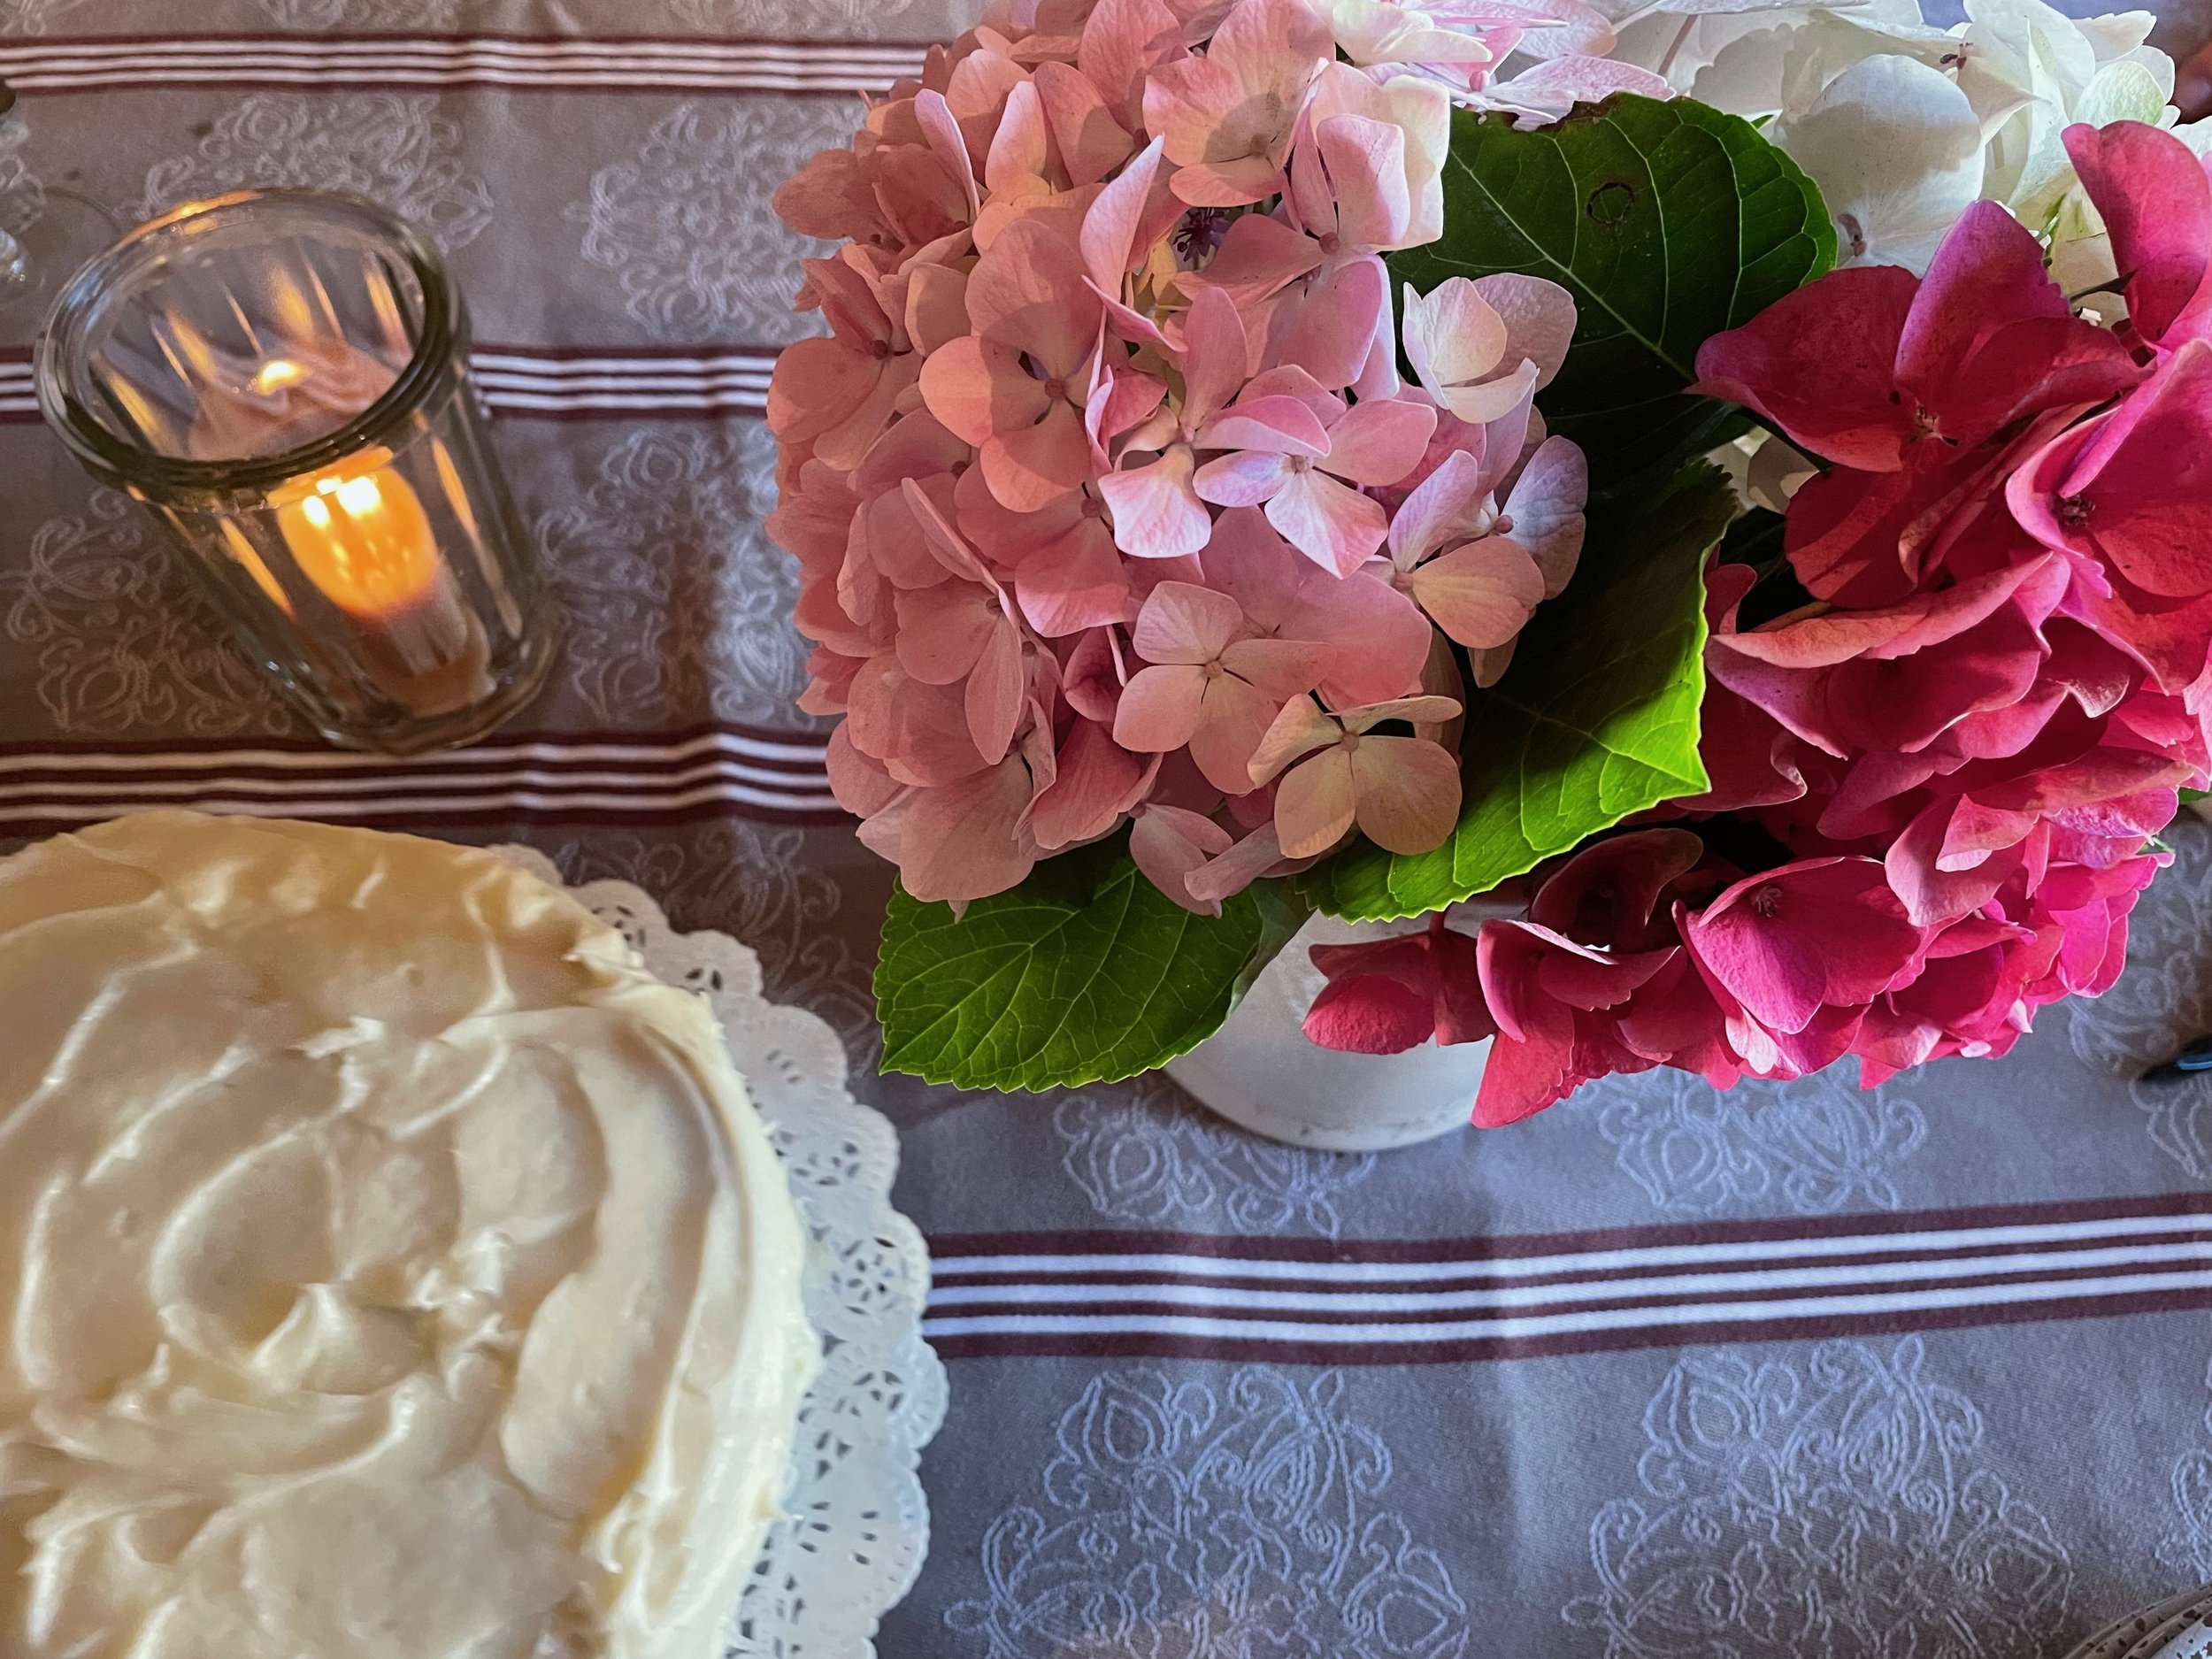
Hummingbird Cake and Hydrangeas, A Dreamy Combo

Birthdays and special occasions are usually celebrated with Hummingbird Cake here at Domaine de Manion. There is something special about the combination of sweet banana, pineapple, and cream cheese in this elegant cake recipe that lives on and on. A Certain Mrs. L. H. Wiggins submitted in 1978, the original Hummingbird Cake recipe to Southern Living, and the rest is history. It has become one of Southern Living’s most popular cake recipes of all time, more than forty years later. It really is a crowd pleaser, and lives up to the occasion it is served at.

I have written about and shared my Hummingbird Cake recipe in a post back in February 2021 (see below). Recently I saw a link from Southern Living on 8 Fresh Ways with Hummingbird Cake That Can’t Get Any Sweeter, and thought to myself, there is a real cult following going on. Think Hummingbird Bundt Cake, Hummingbird Pancakes, the Original Hummingbird Cake Recipe, Lightened Hummingbird Cake, Hummingbird Snack Cake with Brown Butter, and more.

My version of Hummingbird Cake recipe below is not too far off from the original, as best as I can see. It makes a very nice 8” three layer or 9” two layer, where in the original recipe, ingredient amounts are larger to make a 9” three layer cake. The original recipe also calls for not draining your crushed pineapple, and mine does. I suggest you drain your crushed pineapple, as the cake is still very, very moist. I also often forgo the nuts as top and side garnish.


Hummingbird Cake


Ingredients:

1-1/2 cups sugar

1-1/2 cups all-purpose flour

1 tsp. baking soda

¼ tsp. salt

¼ tsp. cinnamon

1-8oz. can crushed pineapple—juice packed, drained

½ cup canola oil

4 eggs slightly beaten

1 tsp. vanilla

1 cup chopped bananas

1 cup chunky-style applesauce

2/3 cup chopped walnuts, toasted


Directions:

Grease and lightly flour two 9” round cake pans. Place a circular parchment paper fitting each pan on top of greased and floured cake pans for ease of removing baked cakes. Set pans aside.


In a large mixing bowl, combine the sugar, flour, baking soda, salt, and cinnamon. Add drained pineapple, oil, eggs, and vanilla. Beat with an electric mixer until combined, scraping the sides of the bowl occasionally. Stir in bananas, applesauce, and walnuts. Divide batter between two prepared pans.


Bake in 350 degree F. oven about 35 minutes, or until the top springs back when lightly touched. Cool cake layers on wire racks for 10 minutes. Remove from pans, cool thoroughly on wire racks. Prepare the Cream Cheese Frosting and frost cake.


Cream Cheese Frosting


In a large mixing bowl, beat one 8oz. package cream cheese (softened), ½ cup butter (softened), and 1 tsp. vanilla with an electric mixer until light and fluffy. Gradually add 5 cups of sifted powdered sugar, beating until smooth and spread consistency.


Ice cake in one direction, trying not to get cake crumbs in the icing. Ice top of first layer of cake, add second cake layer, finish icing cake top and sides.


Press 1-1/2 cups finely chopped pecans, toasted into the sides of the cake. Sprinkle 2 tablespoons of finely chopped pecans on top of the cake. (I usually just cover the top of cake with toasted pecans, and not the sides.) Enjoy!!


Hummingbird Cake Great Down to the Last Piece, French Country Living

Great Down to the Last Piece

Past Related Posts:
Elegant Hummingbird Cake

Love Is A Four Letter Word And So Is Cake

Bon Appétit et Bon Weekend…Bonnie

Love is a Four Letter Word, and So is Cake

Beatty’s Chocolate Cake

Show your loved ones how much you care and love them, by baking this treat for Valentine’s Day, Beatty’s Chocolate Cake from Ina Garten’s Barefoot Contessa at Home (2006) cookbook. This is a really rich, moist chocolate cake made with buttermilk and freshly brewed hot coffee added to the cake batter, and instant coffee powder added to the icing. Make sure you use a good quality cocoa powder and semisweet chocolate, and not chocolate chips because they contain stabilizers.

Let’s face it, a nice creamy chocolate cake does a lot for a lot people; it does for me.
— Audrey Hepburn

It is definitely an old-fashioned cake, which harkens back to the days when milk was delivered to your doorstep by a milkman. This cake calls for two 8” round cake pans. Initially, I thought the cake wasn’t going to be very high. However, not the case, this recipe makes two very thick cake layers, and a beautiful presentation with the chocolate buttercream frosting.

Romance is the icing but love is the cake.
— Julia Child

A little culinary secret for you that you may or may not know. A little coffee flavor greatly enhances and heightens chocolate flavor. Further layer the coffee flavor theme, and serve this delicious cake with coffee ice cream or coffee gelato. A home run!

Over the years I have shared special chocolate dessert recipes. See below for more fabulous chocolate recipes you can make for Valentine’s Day.

More Related Posts
A Perfect Dessert to Celebrate Valentine’s Day

Jim Dodge Chocolate Pecan Cake

February is Love

Bon Appétit et Bon Weekend….Bonnie


Pumpkin Maple Cornbread

Heavenly Pumpkin Maple Cornbread

I have to share this delightful Pumpkin Maple Cornbread with you in case you missed it in The New York Times. I knew, just by first reading it, was going to be fabulous. Sweetened with brown sugar and maple syrup, moist and rich, this is not your typical cornbread. In fact, it is so versatile, it could be a fall breakfast sweet, a Thanksgiving side, or just a satisfying snack. Easy to make, and one I am sure you will keep in your seasonal fall recipes.


Pumpkin Maple Cornbread

Lovingly Adapted from Samantha Seneviratne

Published in The New York Times


Ingredients:

½ cup plus 2 Tablespoons unsalted butter, divided, melted and cooled slightly, plus more for greasing the pan.

1 cup finely ground yellow cornmeal

1 cup all-purpose flour

1 teaspoon baking powder

¾ teaspoon kosher salt

½ teaspoon baking soda

1 large egg

¾ cup packed light or dark brown sugar

1 cup canned pumpkin purée

½ cup buttermilk

½ cup plus 2 Tablespoons maple syrup, divided

¼ cup pumpkin seeds (pepitas)


Directions:

Heat the oven to 375 degrees F. Butter an 8-inch square baking pan. Line with parchment paper, leaving a 2-inch overhang on two sides. Butter the parchment.


In a medium bowl, whisk together the cornmeal, flour, baking powder, salt, and baking soda.


In a large bowl, whisk together ½ cup melted butter, the egg, brown sugar, pumpkin purée, buttermilk, and ½ cup maple syrup. Fold in the dry ingredients. Transfer the batter to the prepared pan, and smooth out the top.


Top evenly with the pumpkin seeds. Bake until a toothpick inserted into the center comes out with moist crumbs attached, 25 to 30 minutes. Meanwhile, combine the remaining 2 tablespoons of melted butter and the remaining 2 tablespoons maple syrup.


Transfer bread in the pan to a wire rack. While the bread is still warm, brush the entire surface with the butter-maple mixture. Remove the cornbread from the pan using the overhanging parchment, and cut cornbread into pieces. Serve warm or at room temperature. Makes 9-12 servings. Recipe Note: Be sure and use finely ground cornmeal, and real maple syrup for this recipe.


Pumpkin Maple Cornbread Just Out of the Oven Cooling


Bon Appétit et Bon Weekend…Bonnie